Categories and Icons
Every income and expense belongs to a category with its own icon and color, so your budget reads at a glance. Here is how to add, style, and maintain them.
- 1
Open category management
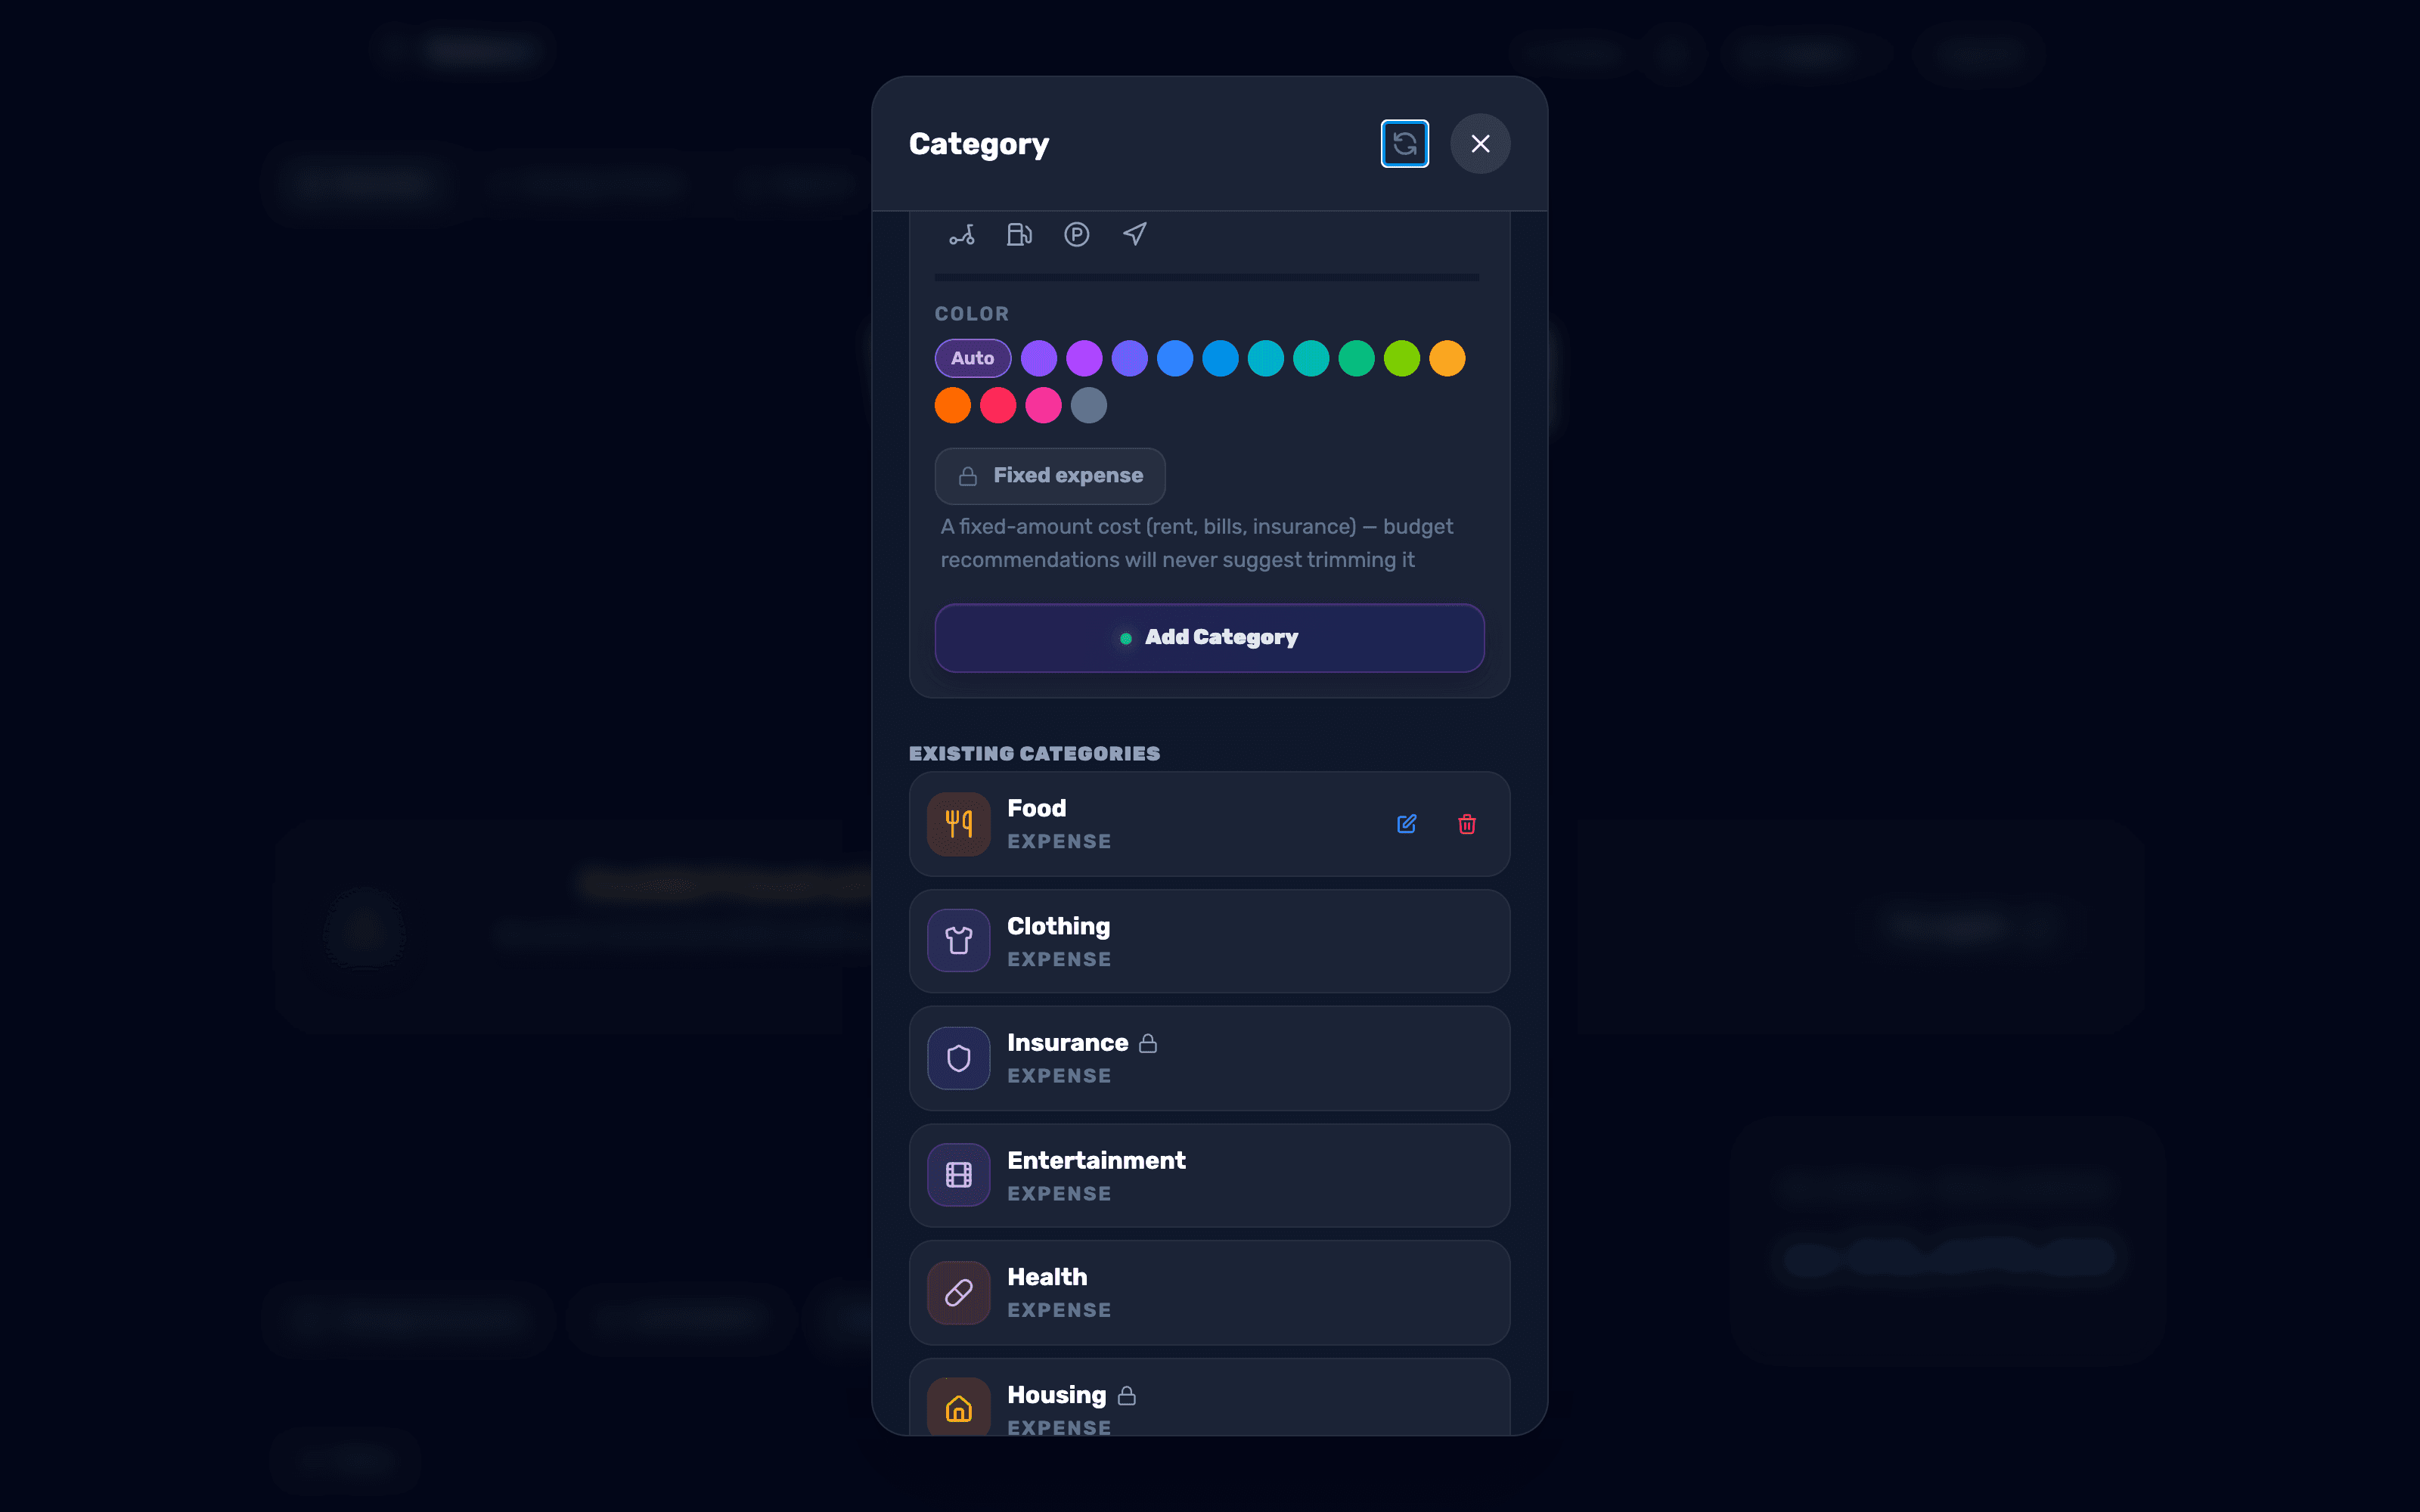
On the dashboard, click the gear-icon button next to the "Category" label. This opens the category management window, with a form for adding a category and a list of existing ones.
- 2
Add a new category
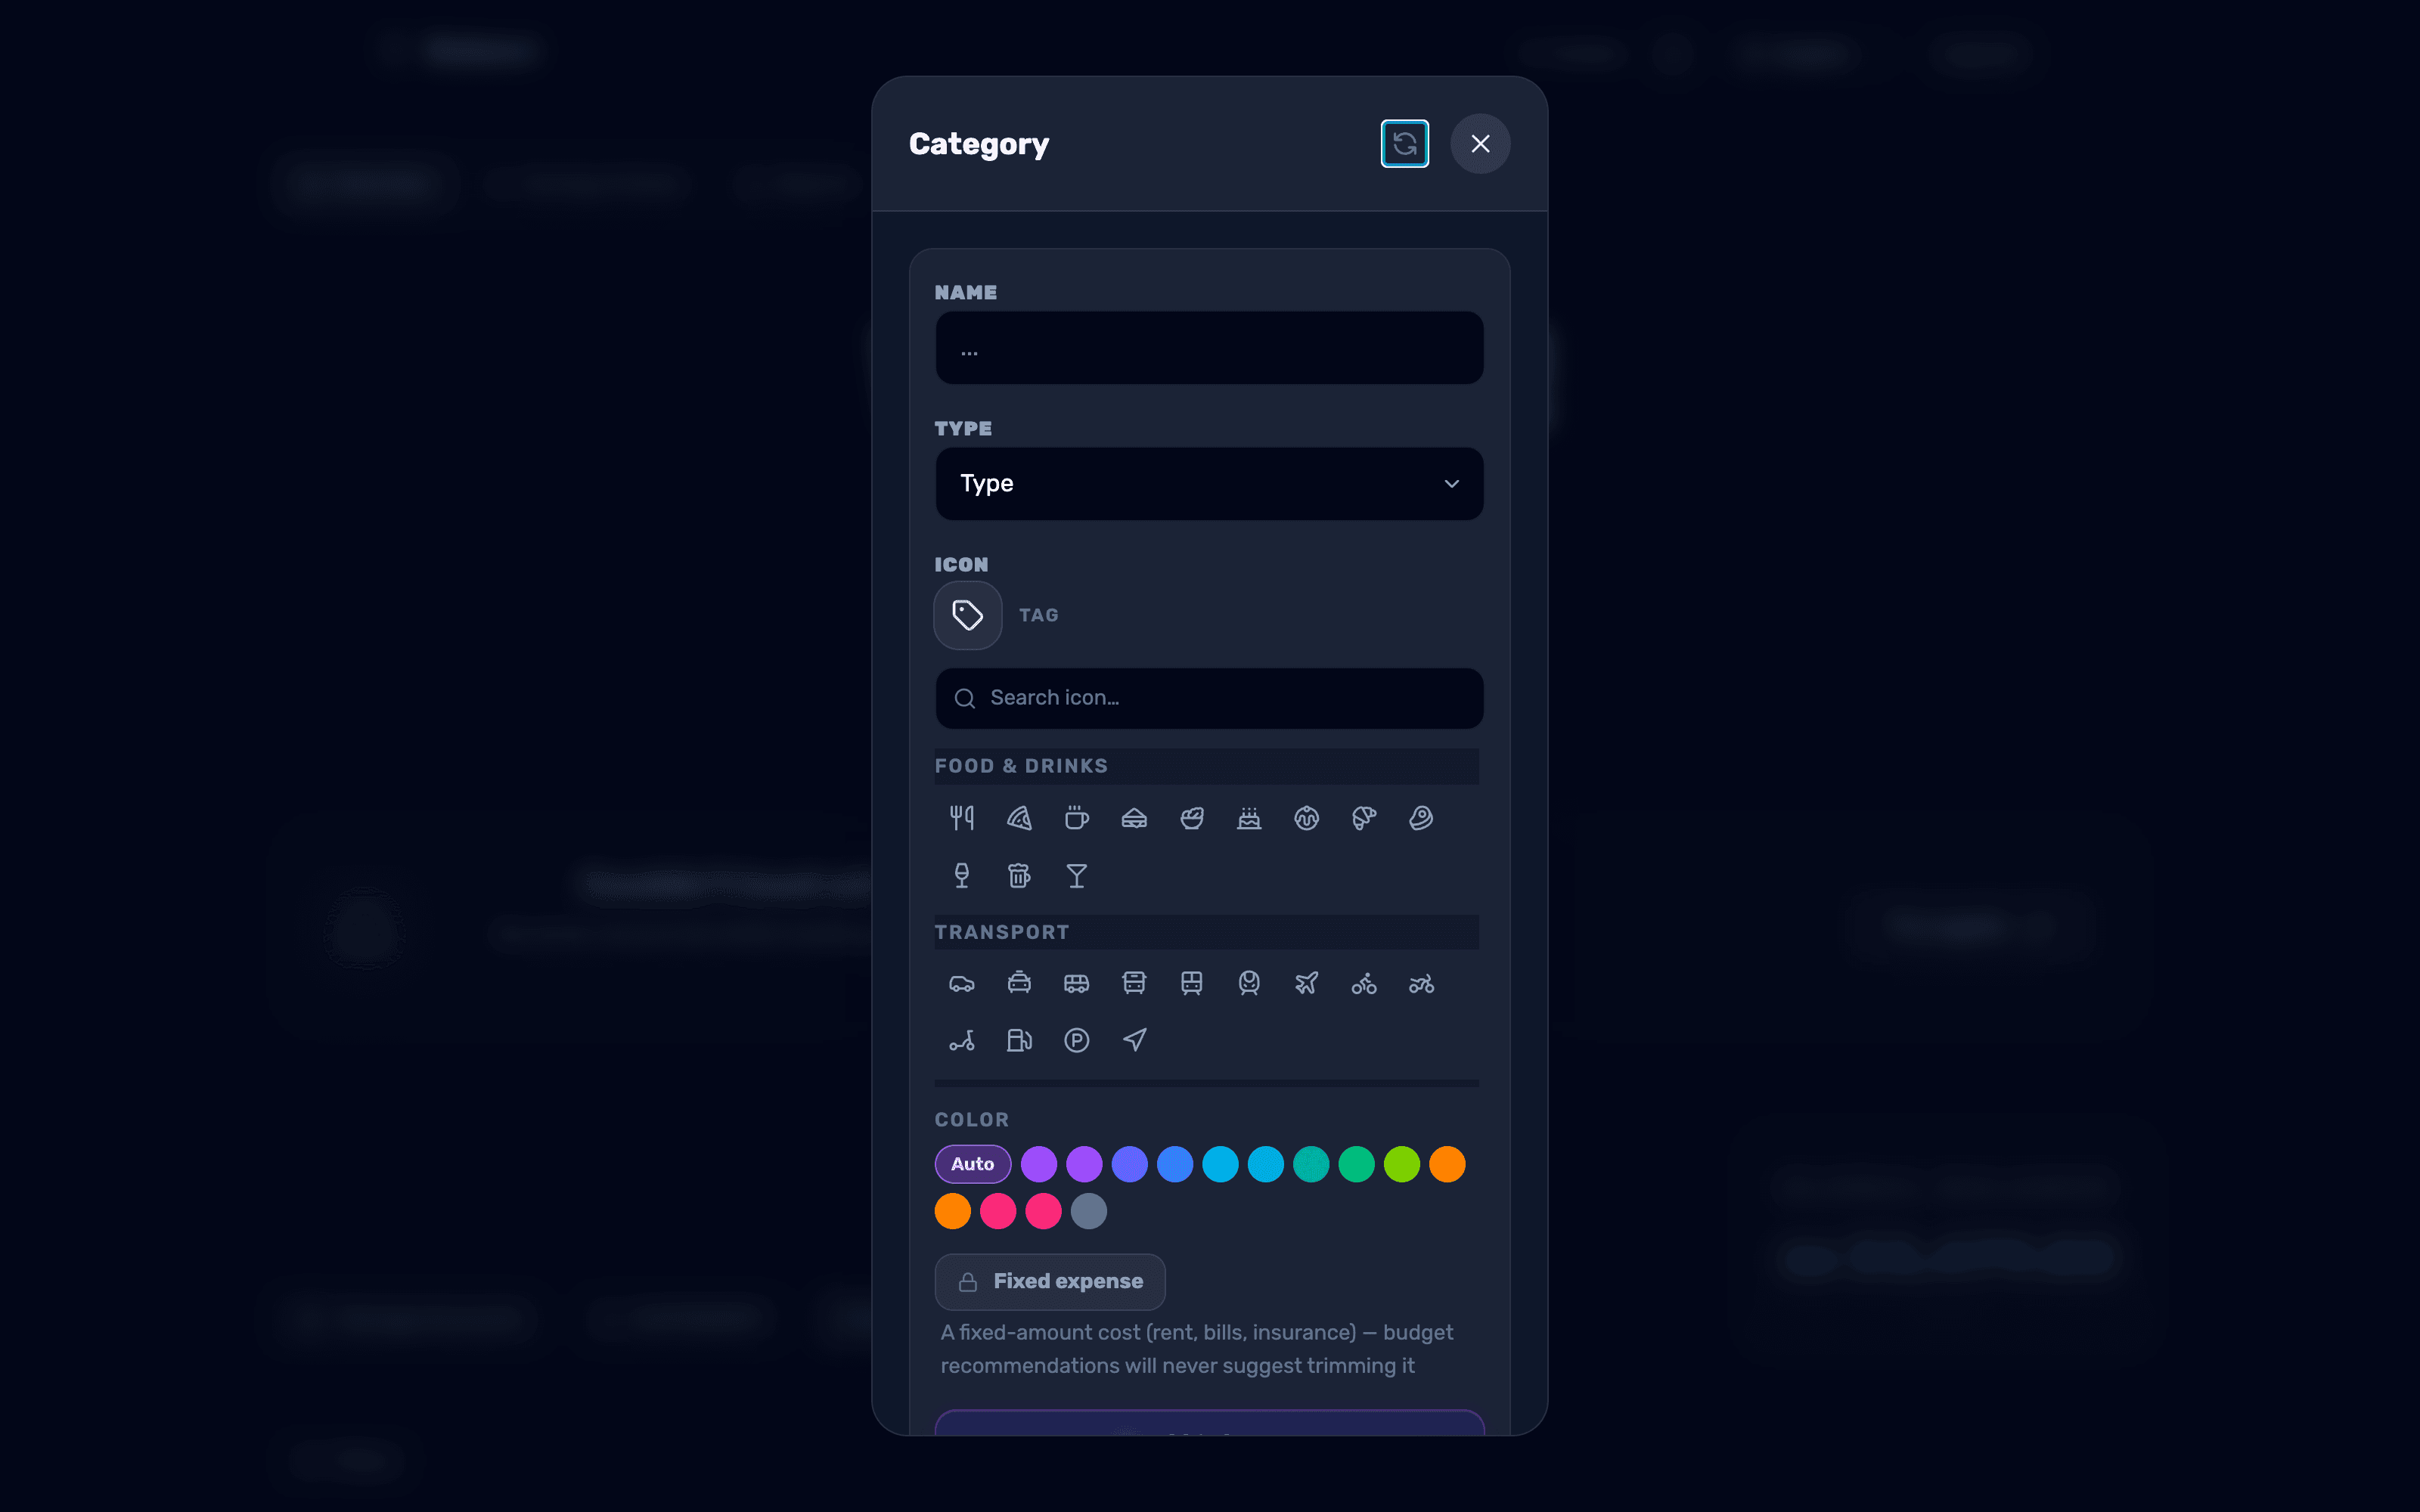
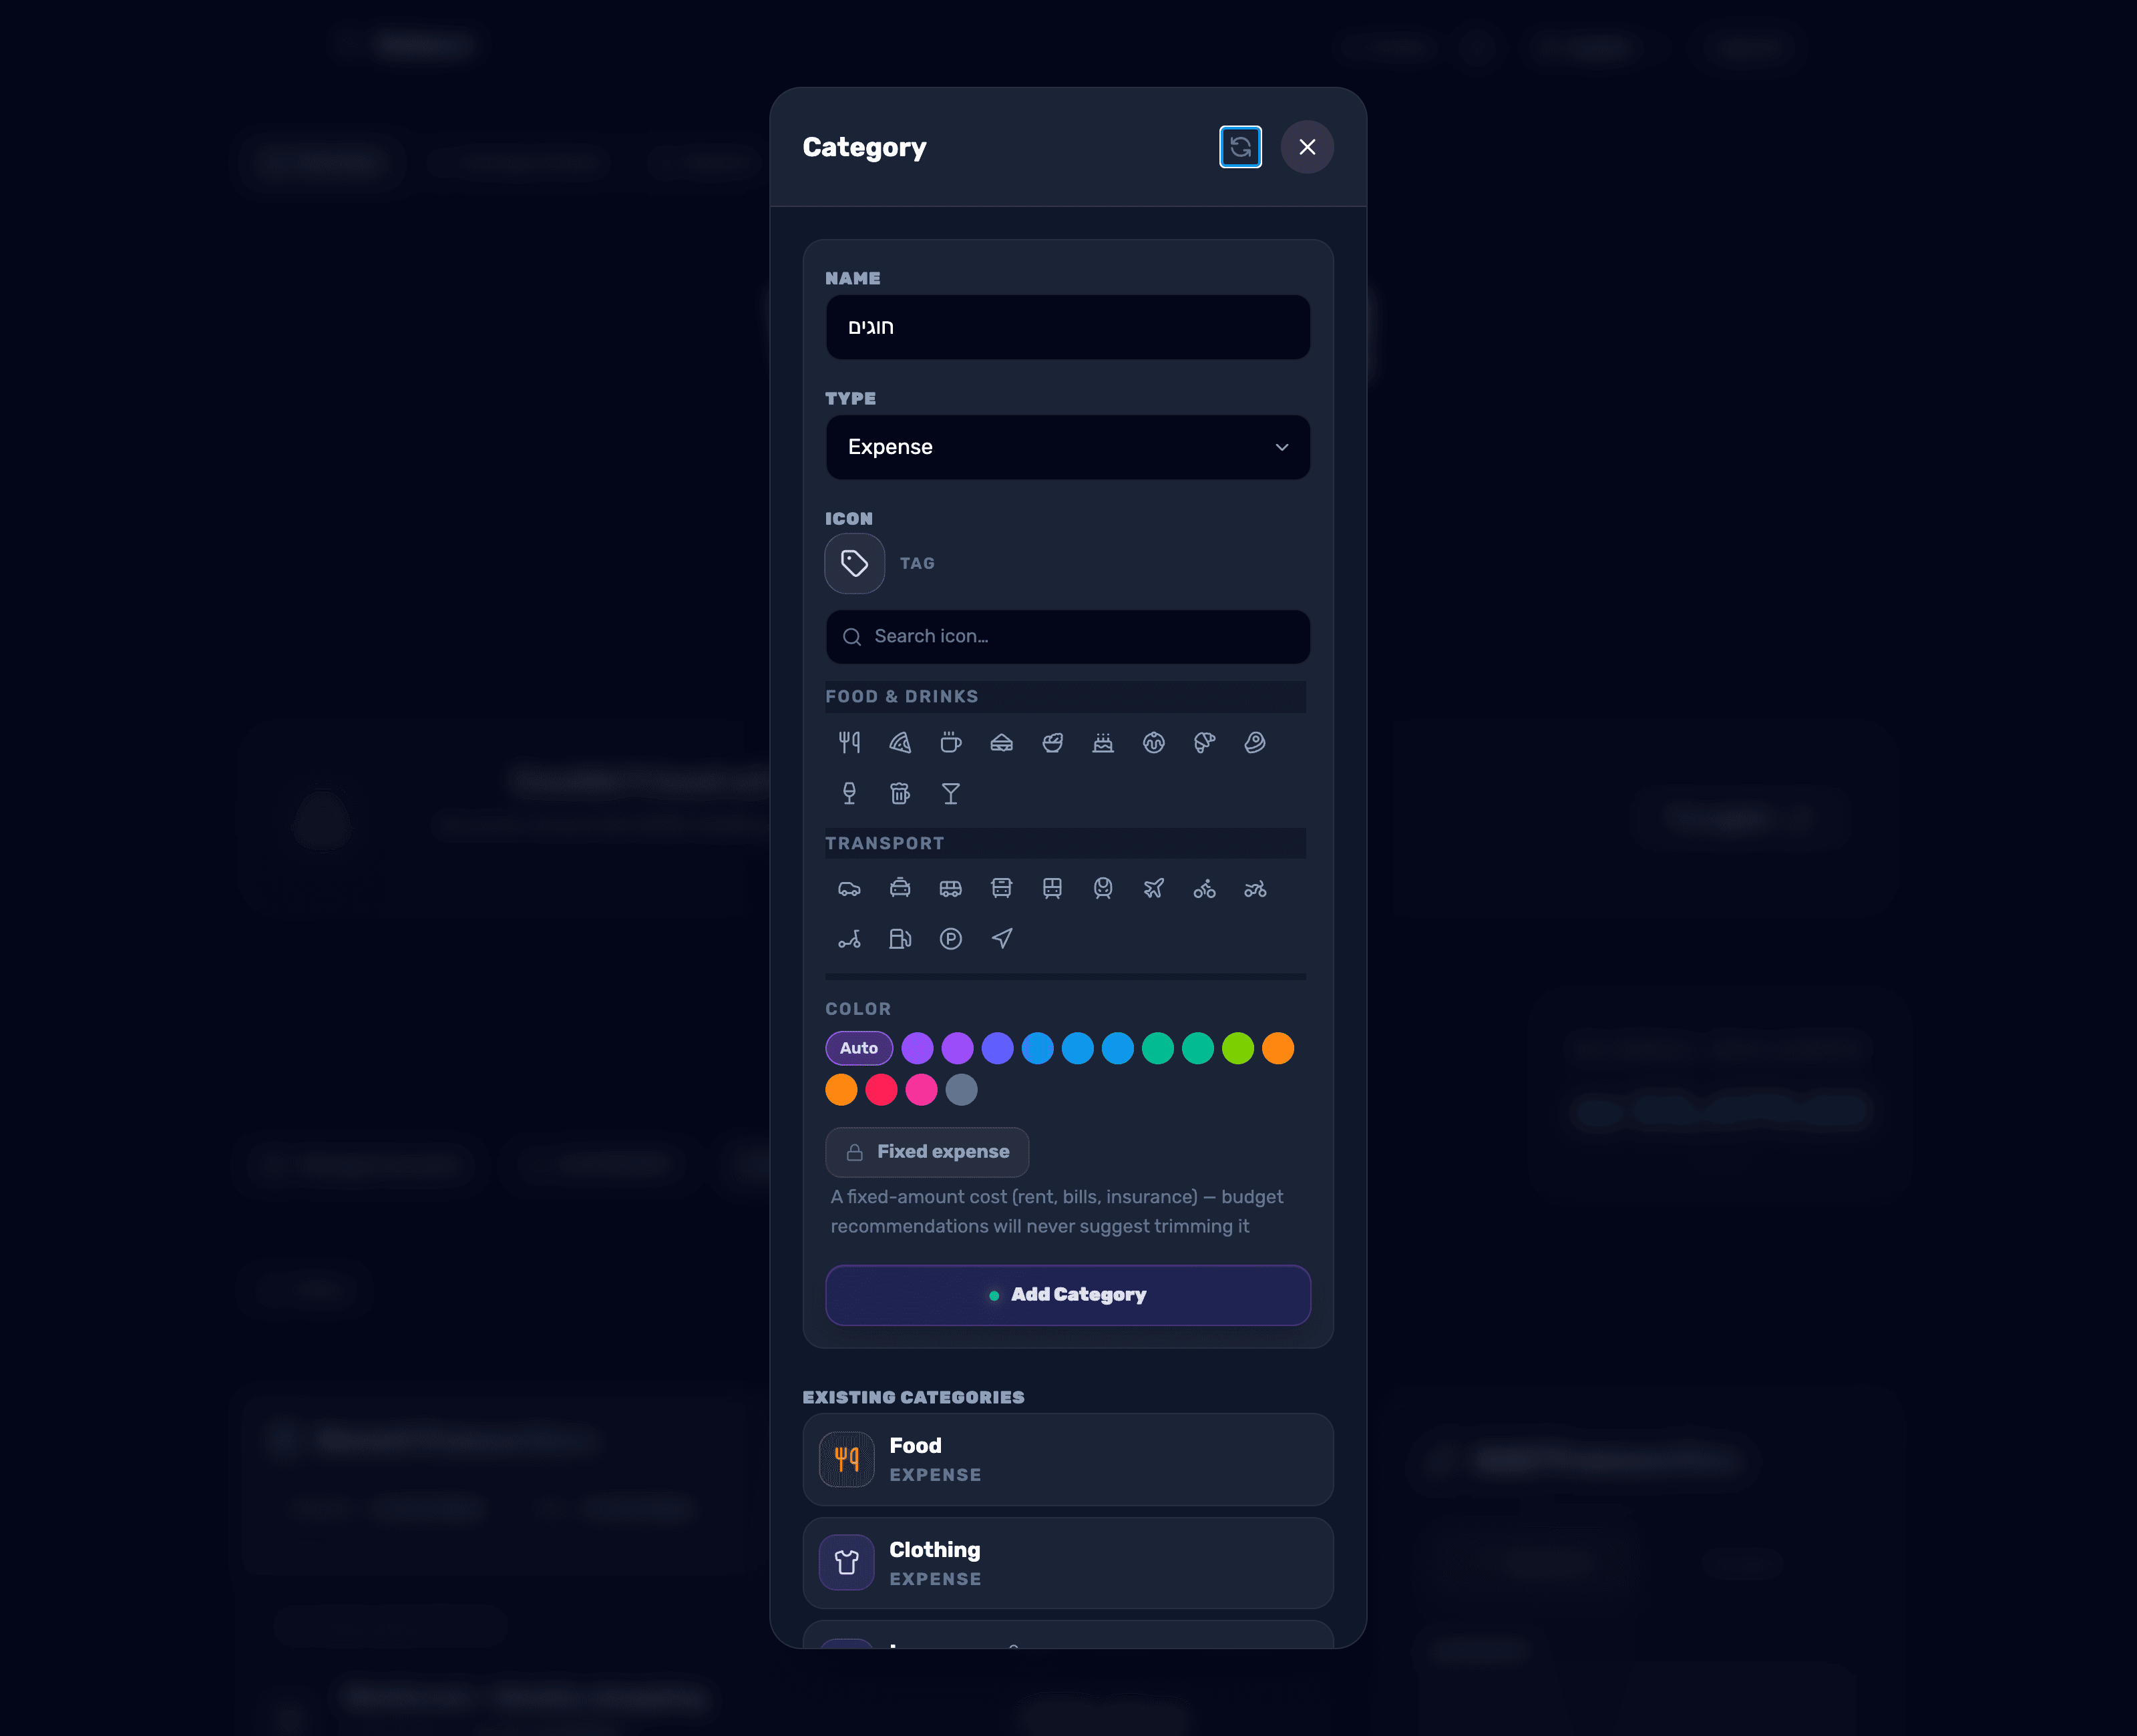
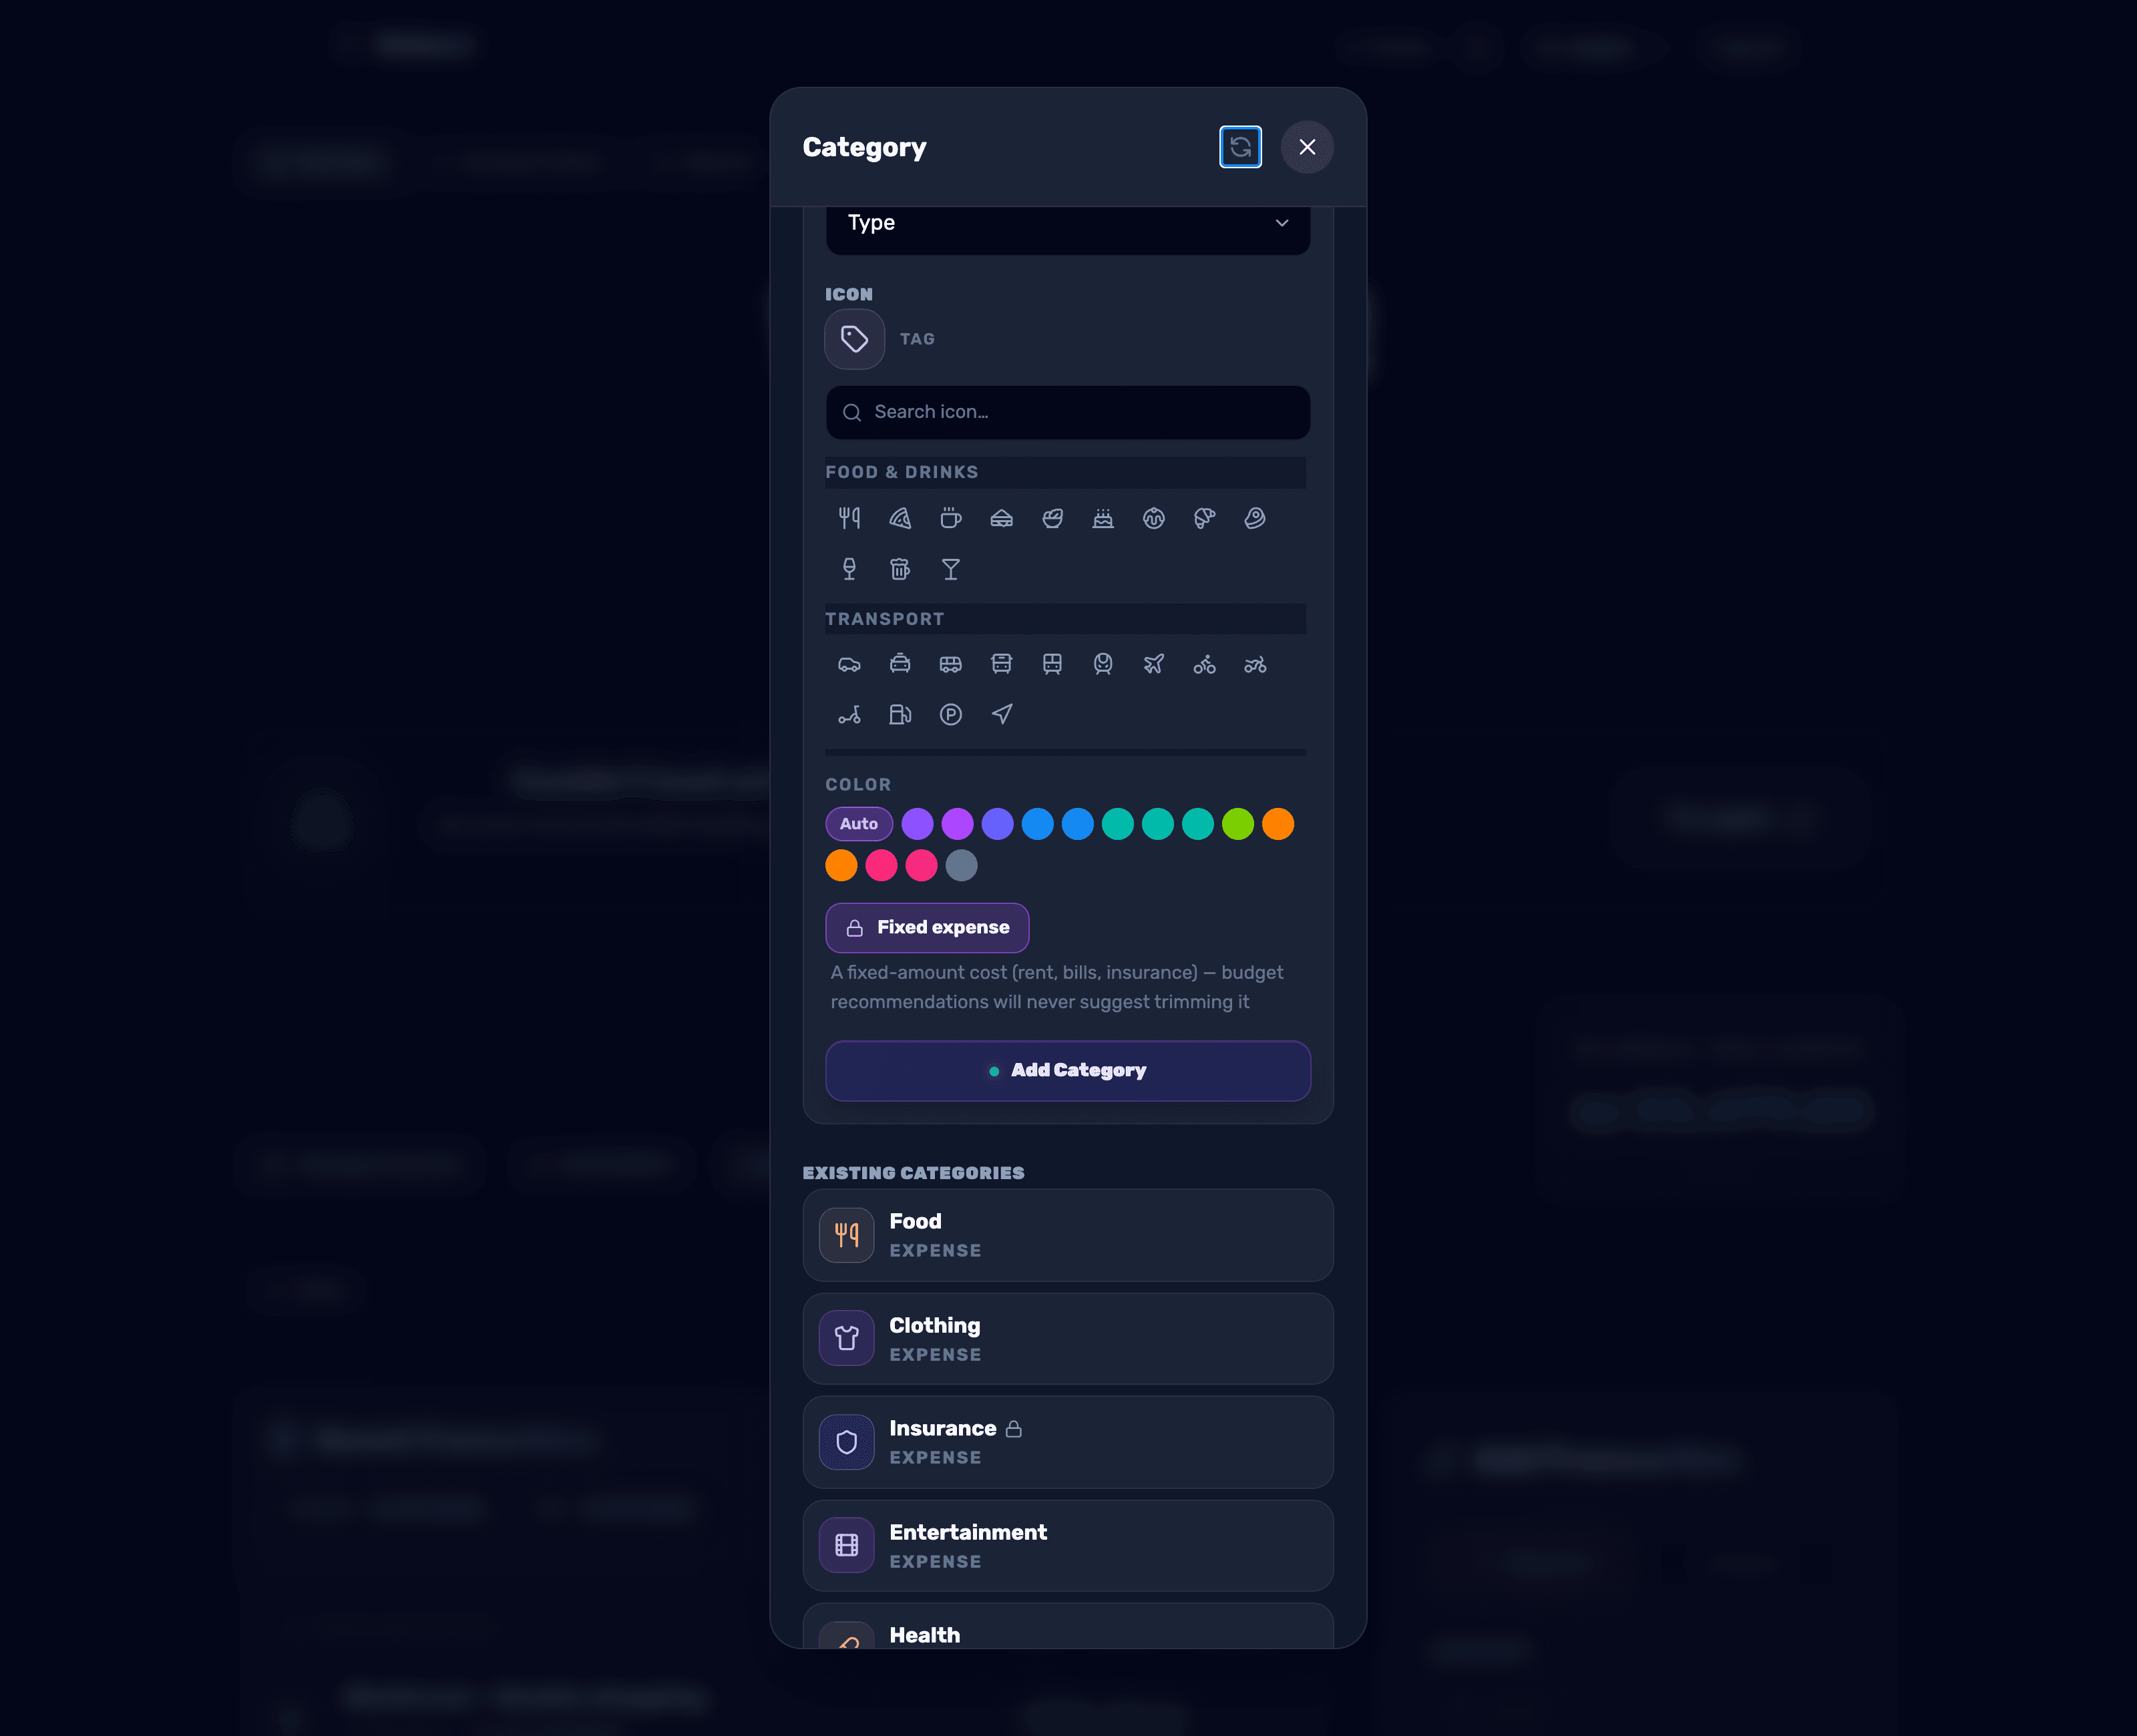
Fill in the "Name" field, choose a "Type" — "Expense", "Income", or a third option that covers both directions at once — then click "Add Category" at the bottom of the form.
- 3
Choose an icon and color
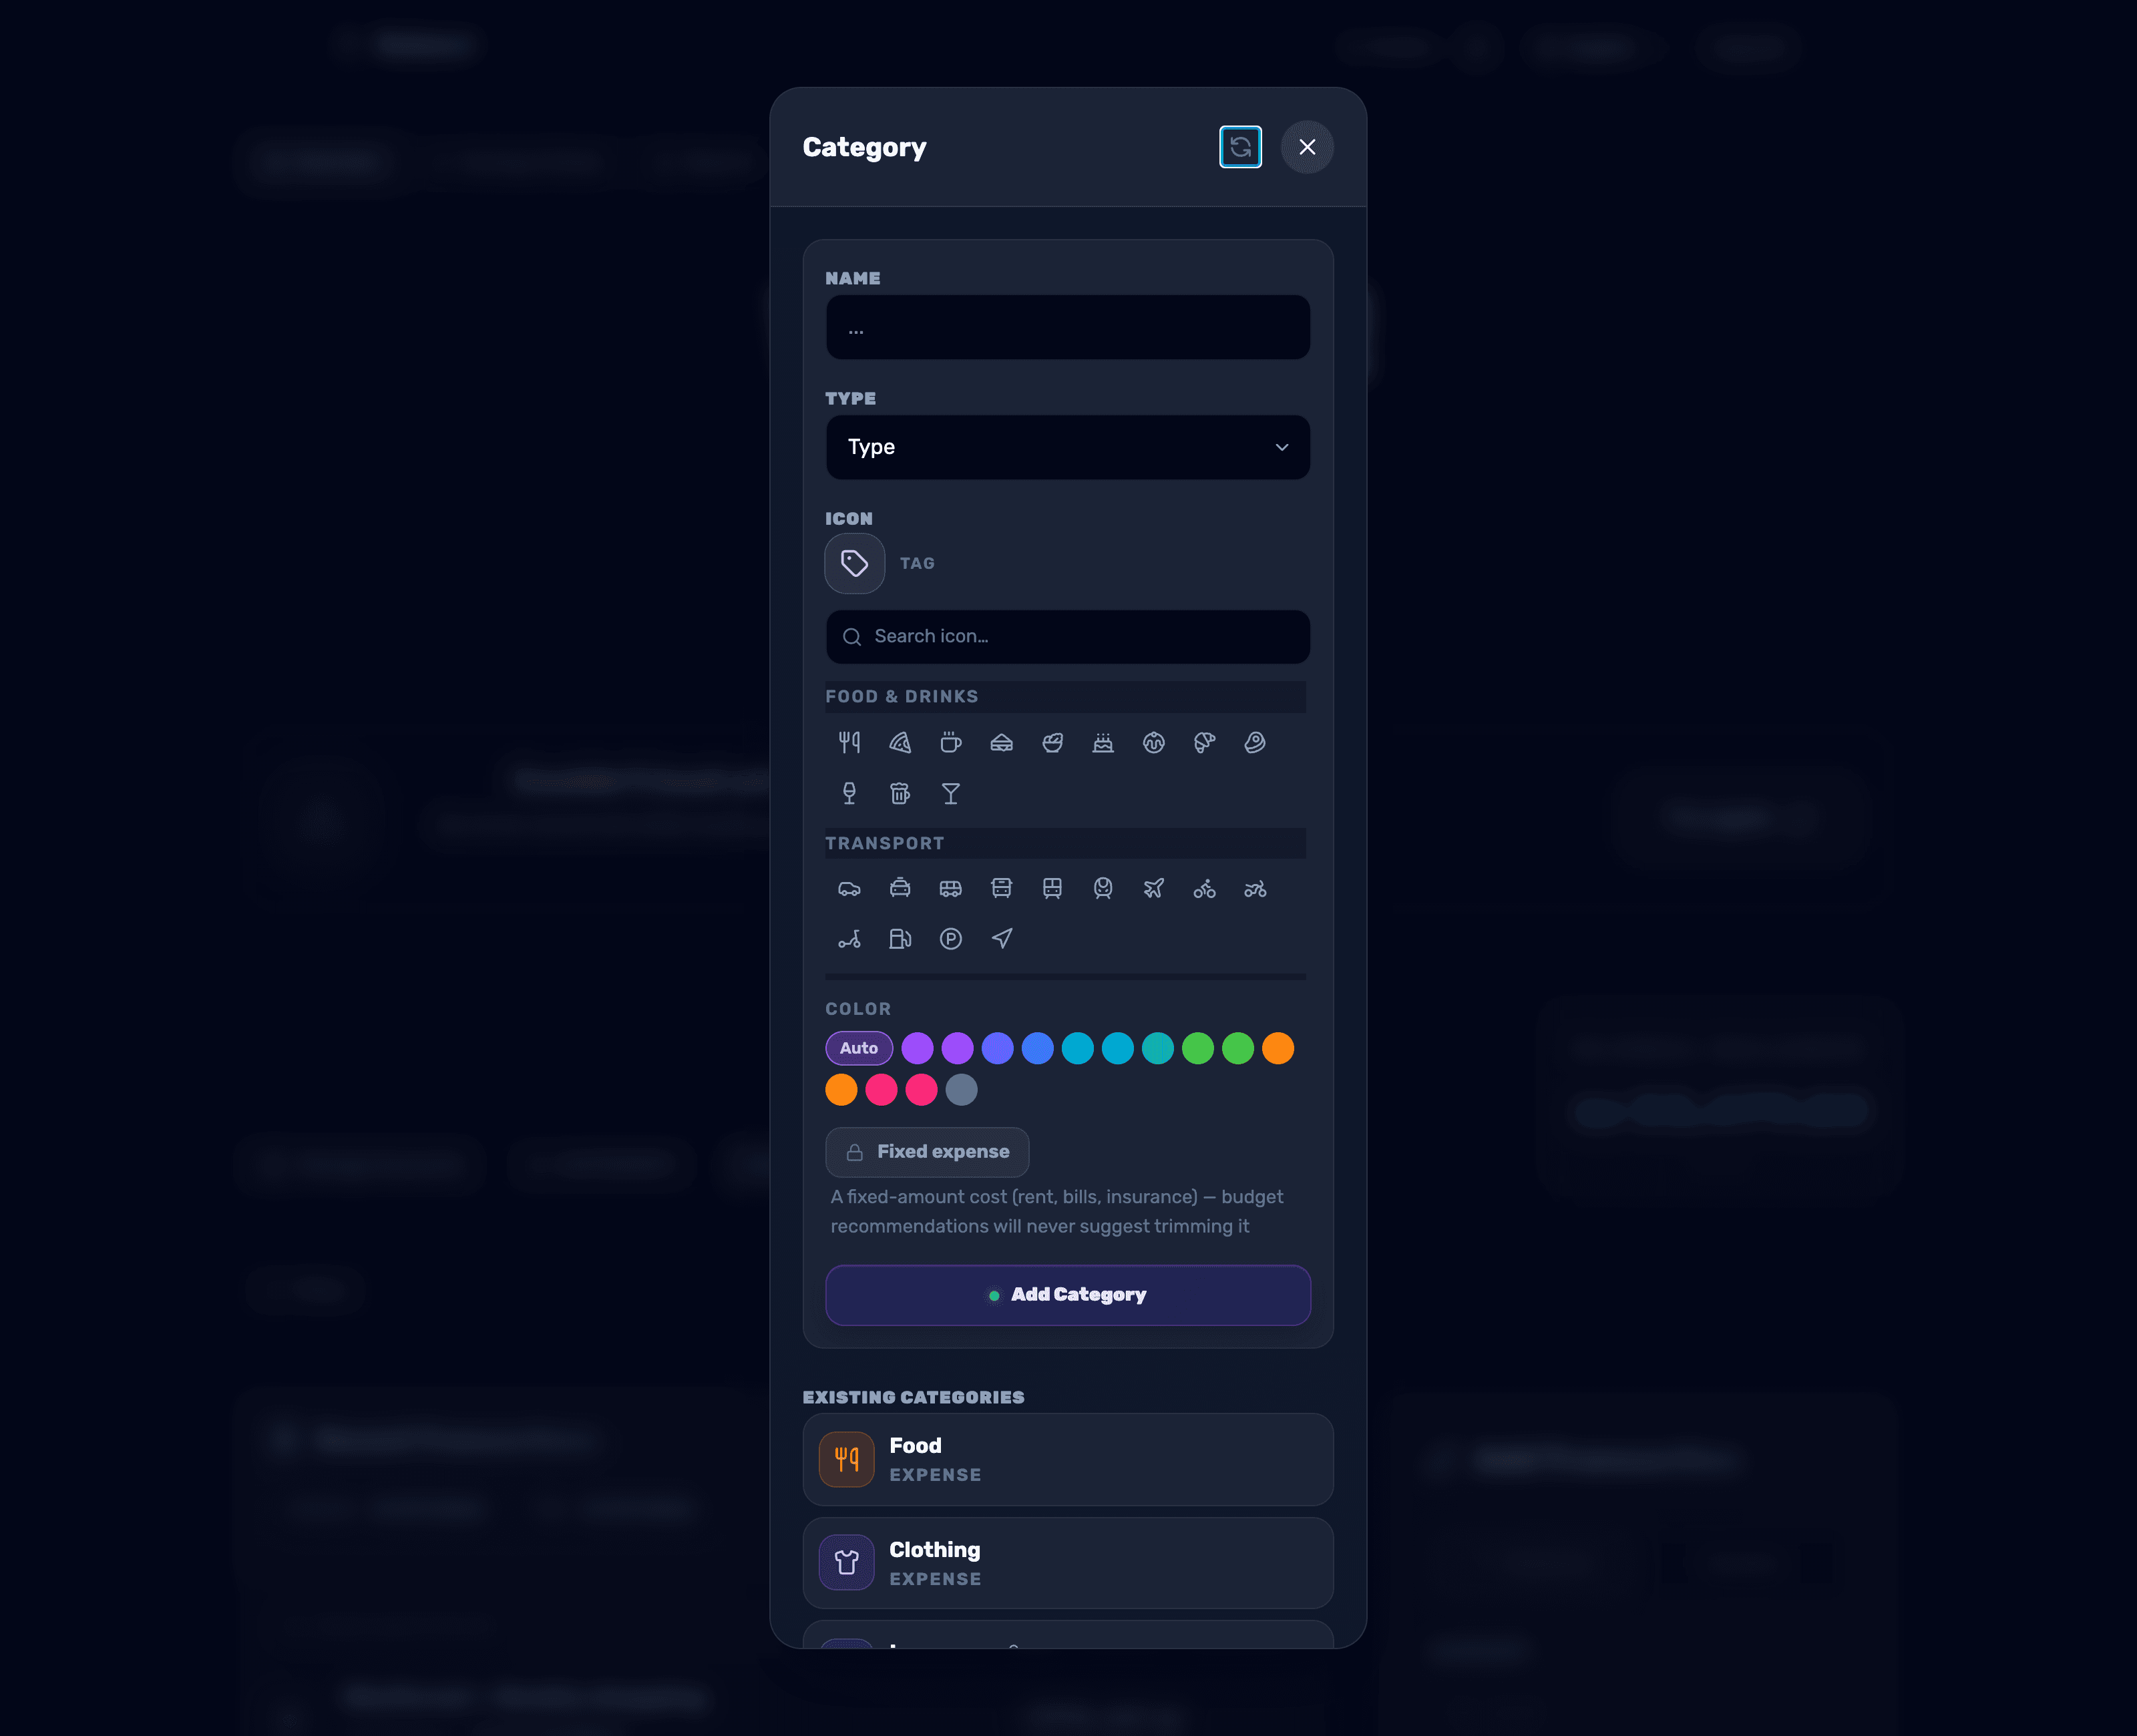
In the "Icon" field, open the icon picker: type a word into the "Search icon…" box, or browse the ready-made groups such as "Food & Drinks" and "Home & Bills". Pick a "Color" from the palette or leave it on "Auto", and check the result in "Preview".
- 4
Mark it as a fixed expense
If the category represents a fixed-amount cost — rent, bills, or insurance — check the "Fixed expense" box. Budget recommendations will then never suggest trimming it.
- 5
Edit, delete, and sync defaults
In the "Existing Categories" list, click the edit icon next to a category to change its name, icon, color, or type, then click "Save". Deleting is done via the trash icon in the same row — it happens immediately, with no confirmation dialog, so click carefully. Missing one of the built-in categories? Click "Sync default categories" at the top of the window to restore them.