תנועות
כל התנועות הכספיות שלכם במקום אחד — כאן תלמדו איך להוסיף, לערוך, לסנן ולהציג הכנסות והוצאות בדיוק כמו שנוח לכם.
- 1
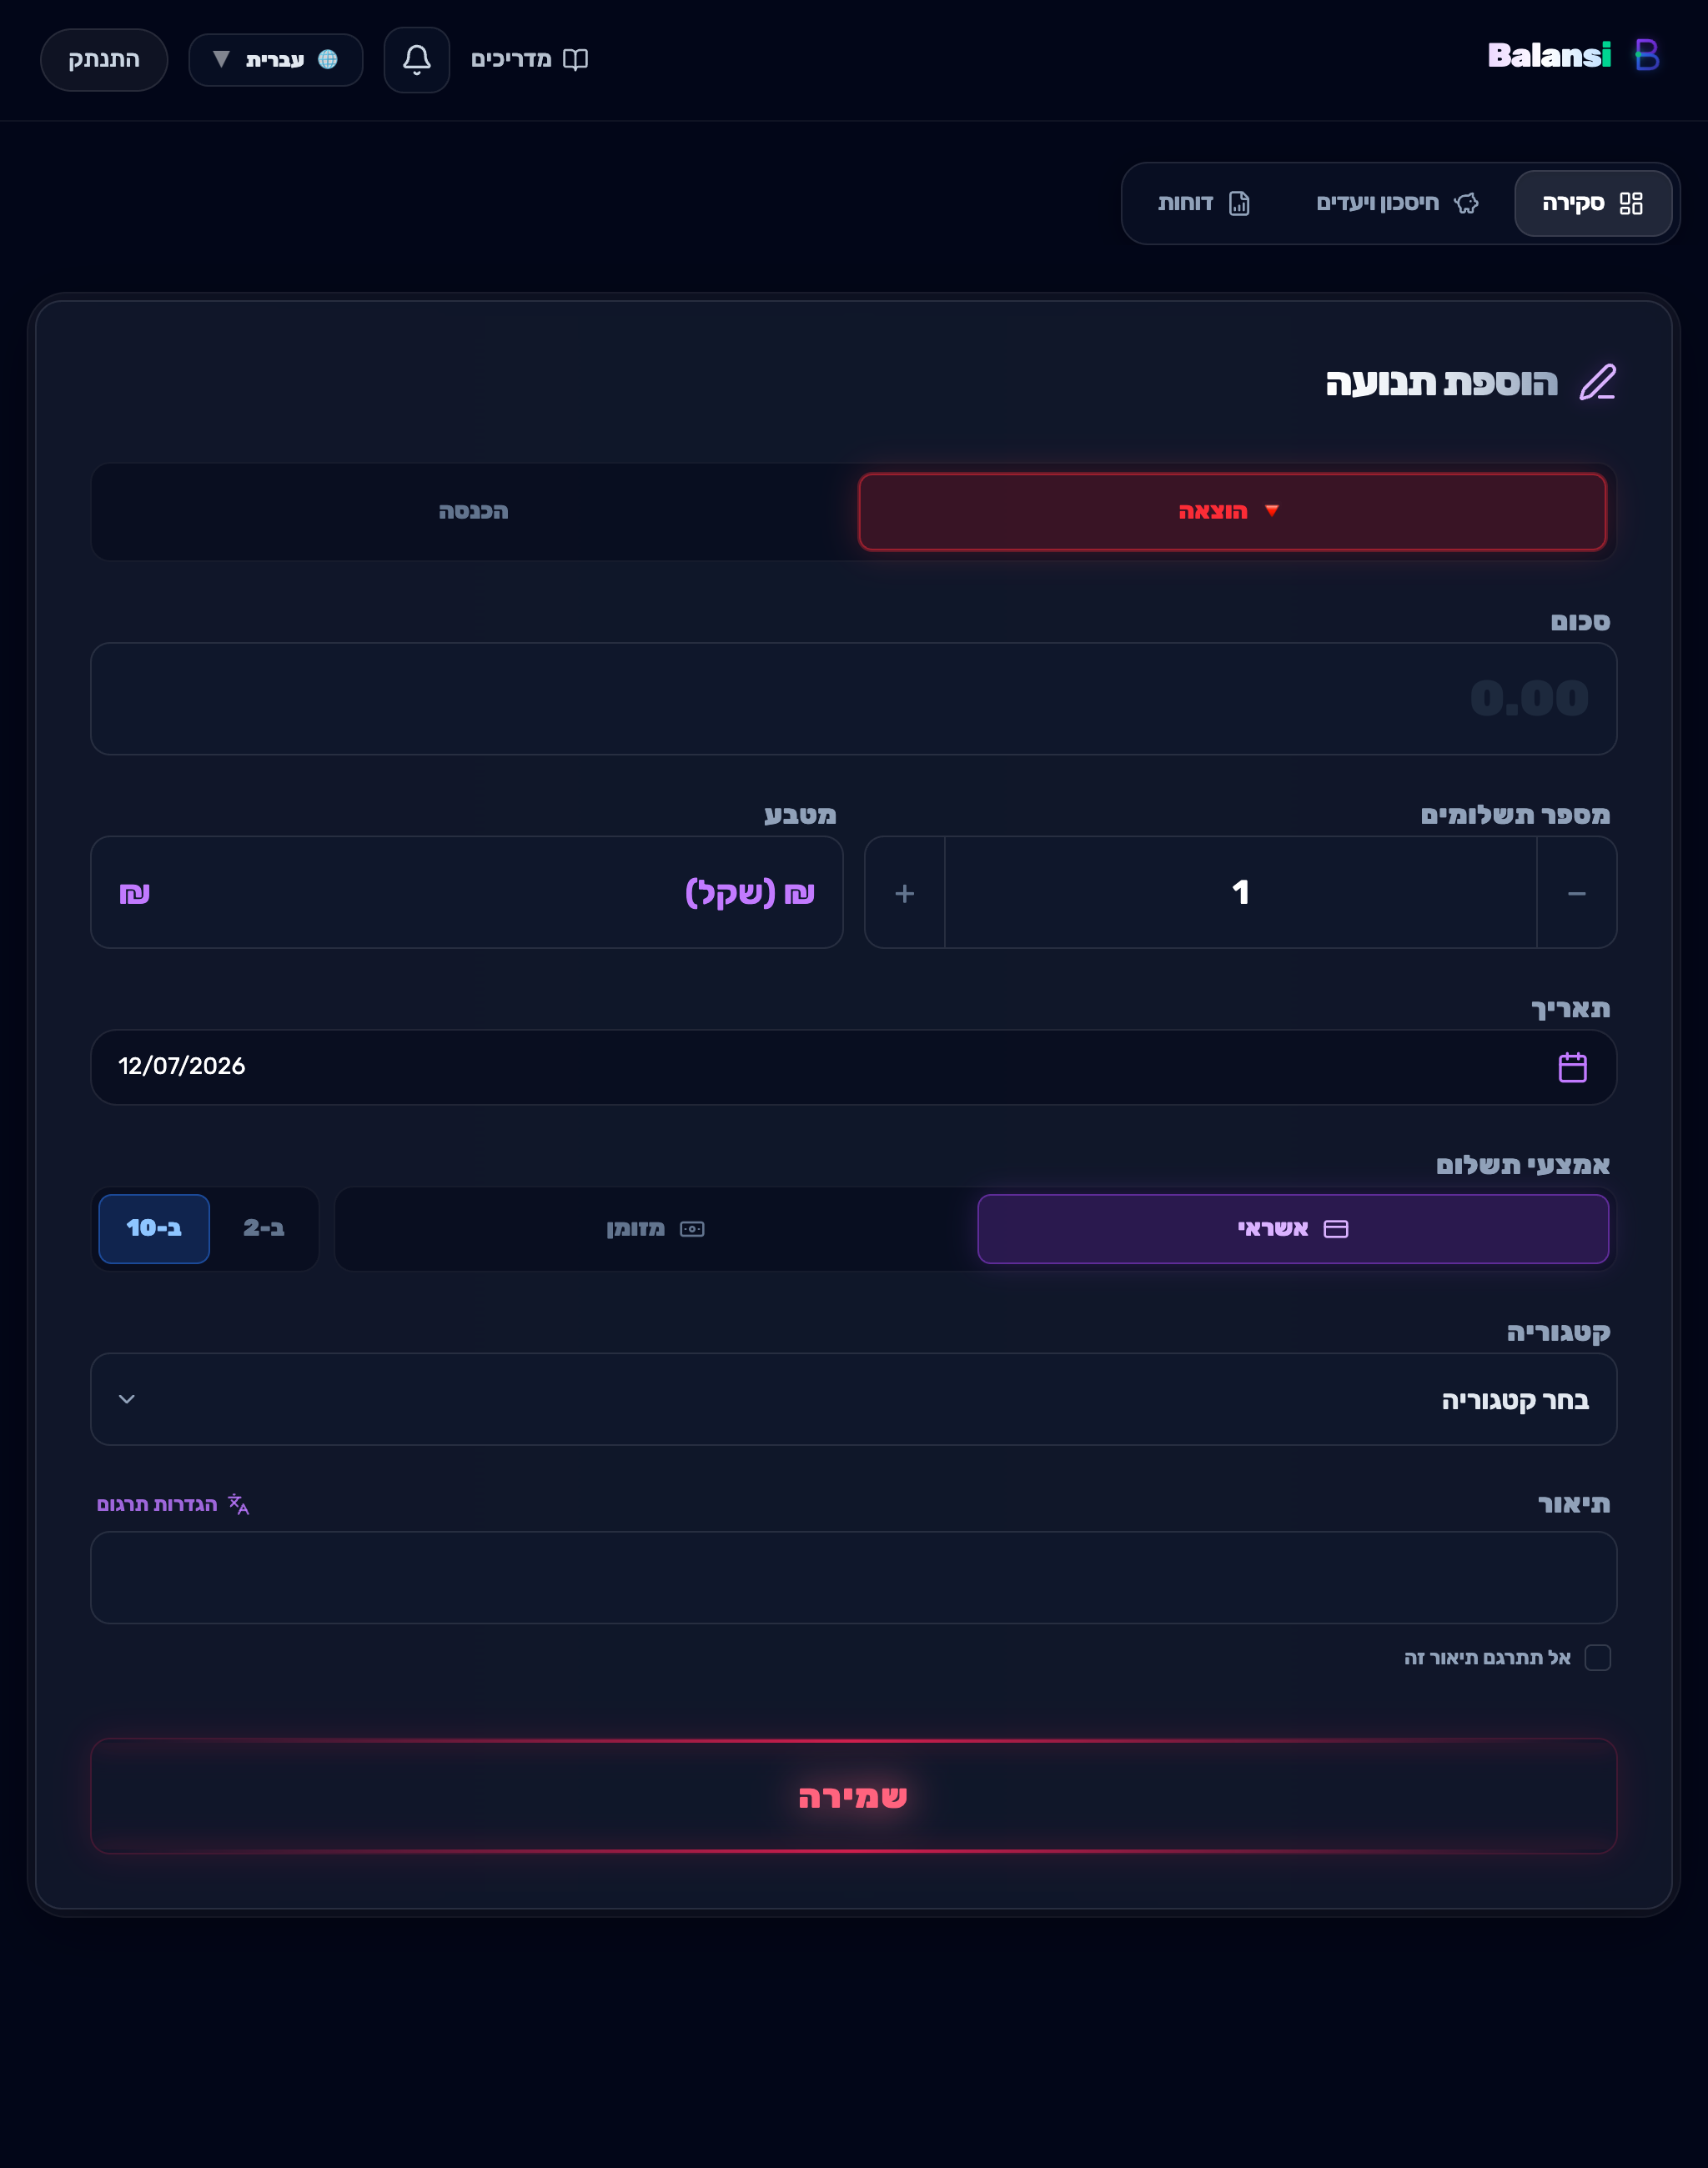
הוספת תנועה חדשה
בעמוד הראשי לחצו על הוספת תנועה, בחרו את סוג התנועה — הכנסה או הוצאה — ומלאו סכום, תיאור, תאריך וקטגוריה. לסיום לחצו שמירה.
- 2
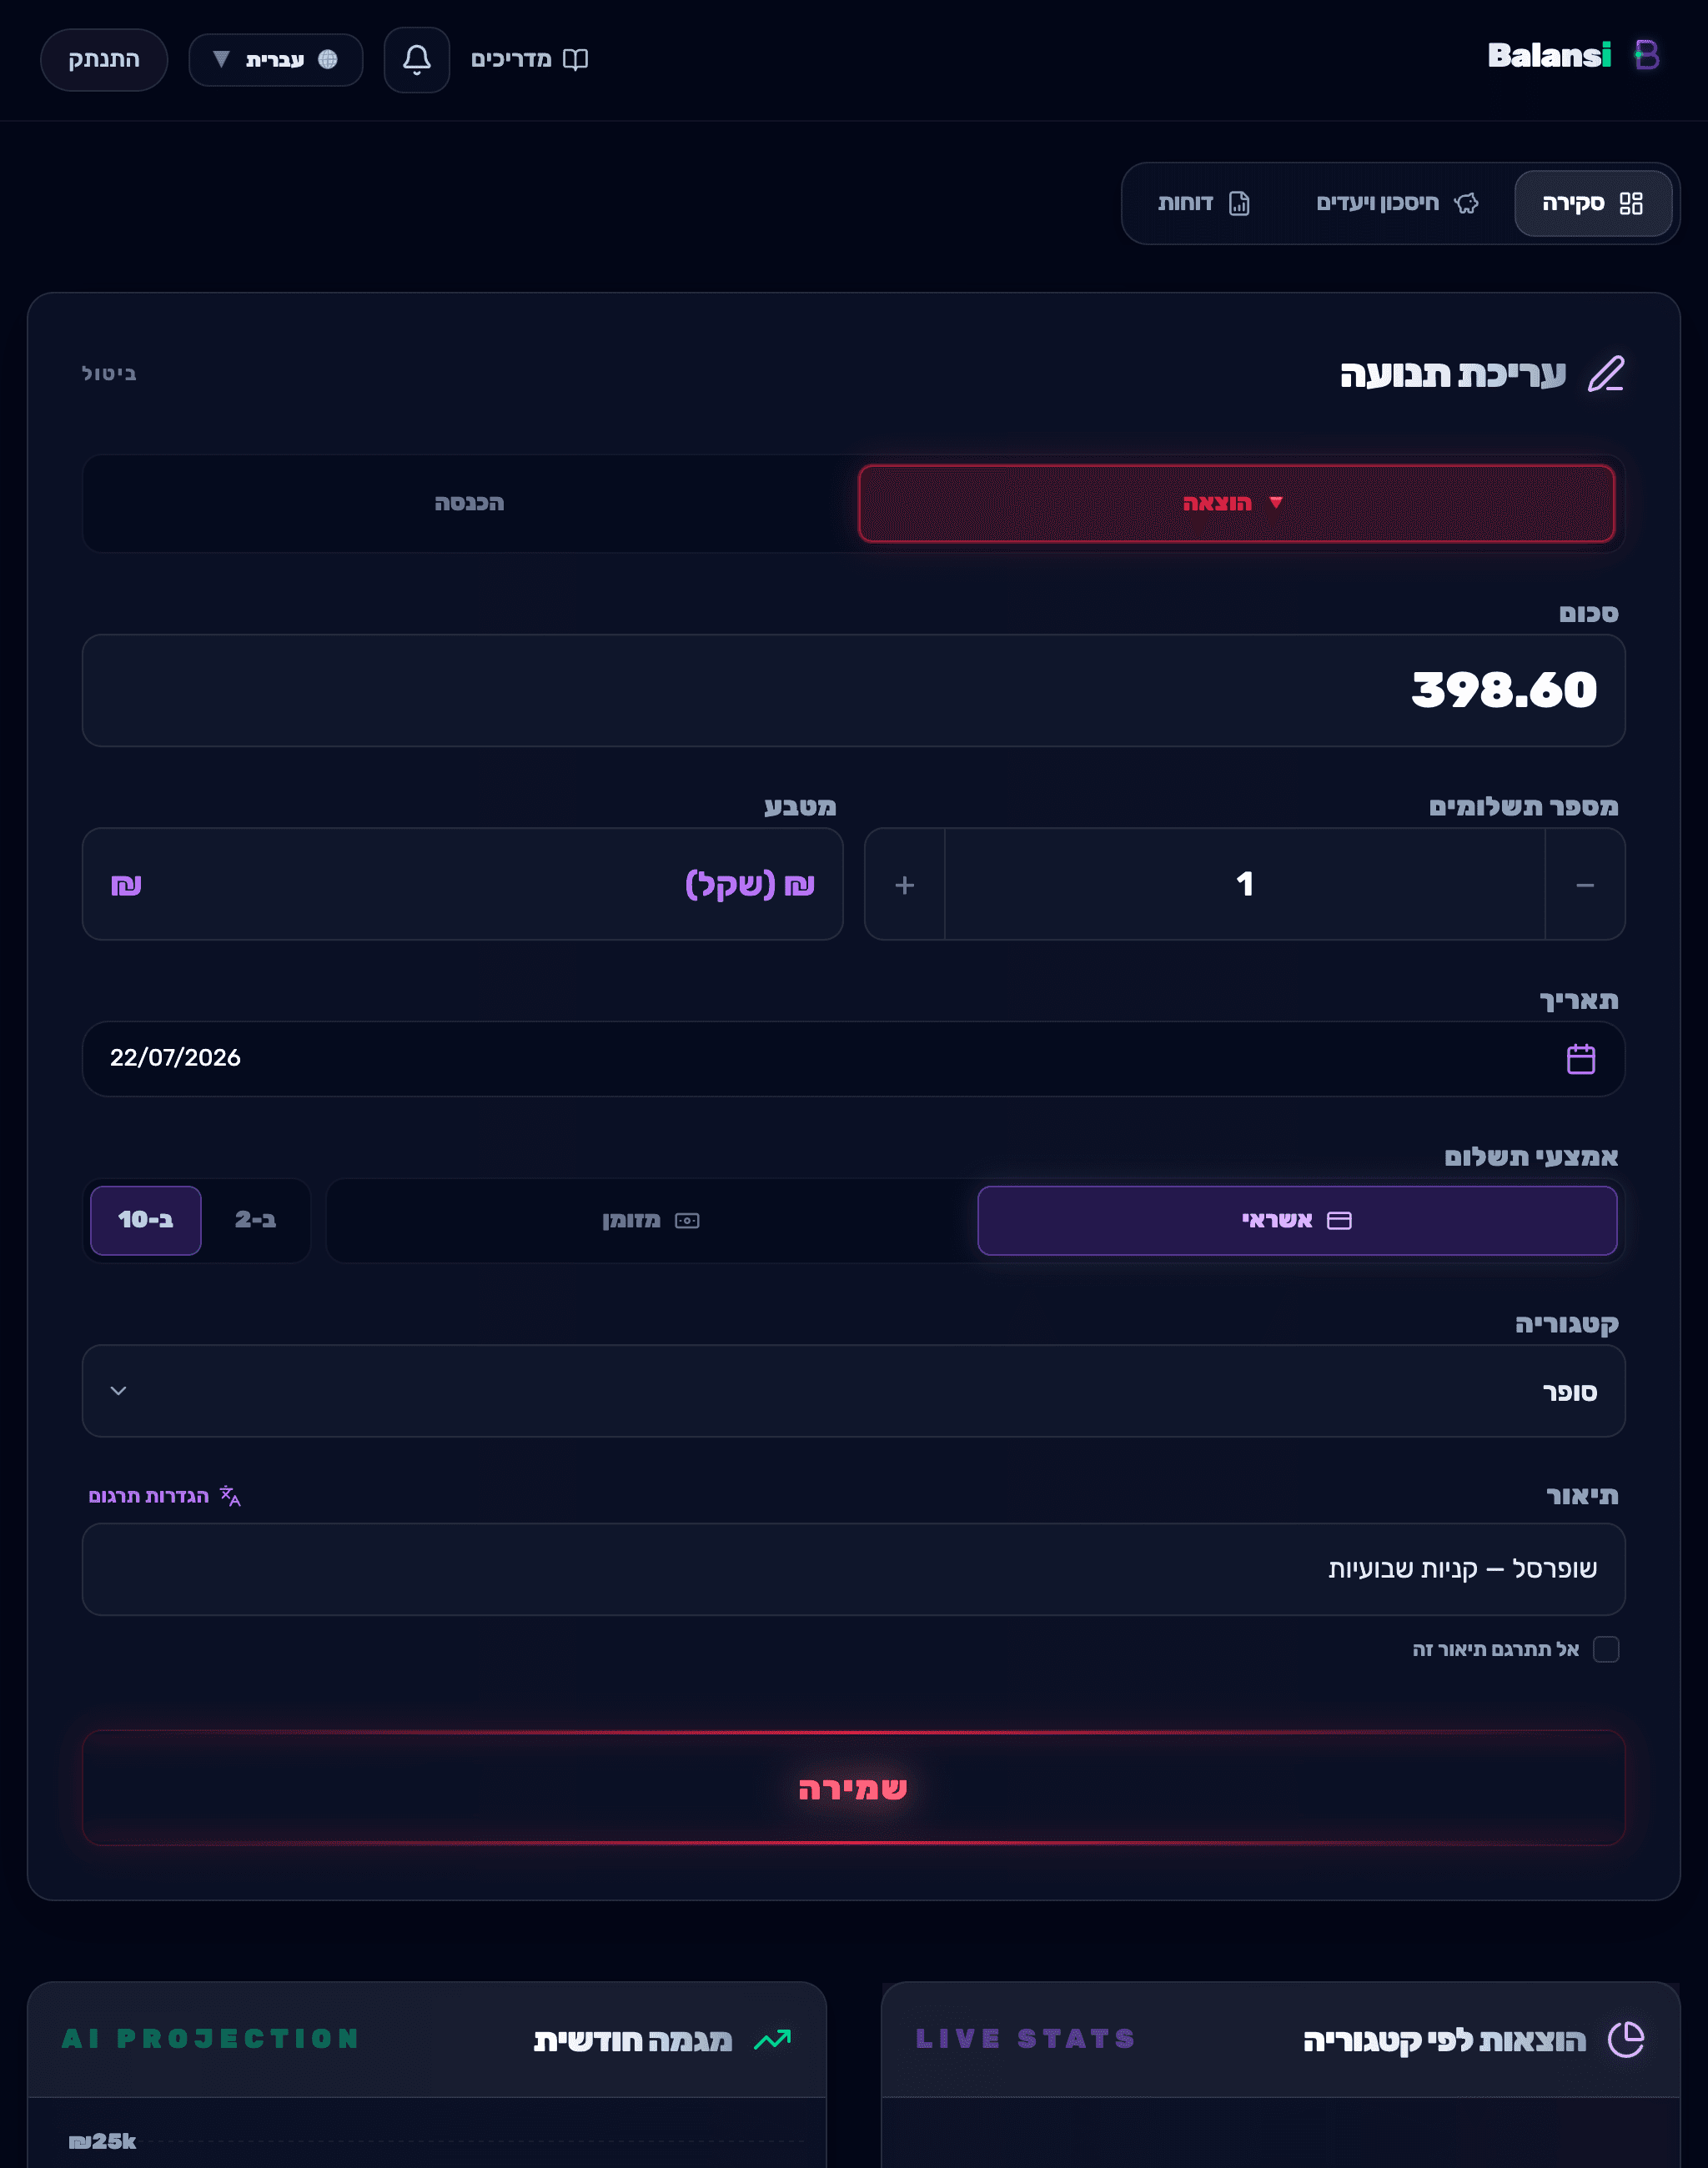
עריכת תנועה קיימת
לחצו על תנועה ברשימת תנועות אחרונות כדי לפתוח את עריכת תנועה, עדכנו את הפרטים הרצויים ולחצו שמירה.
- 3
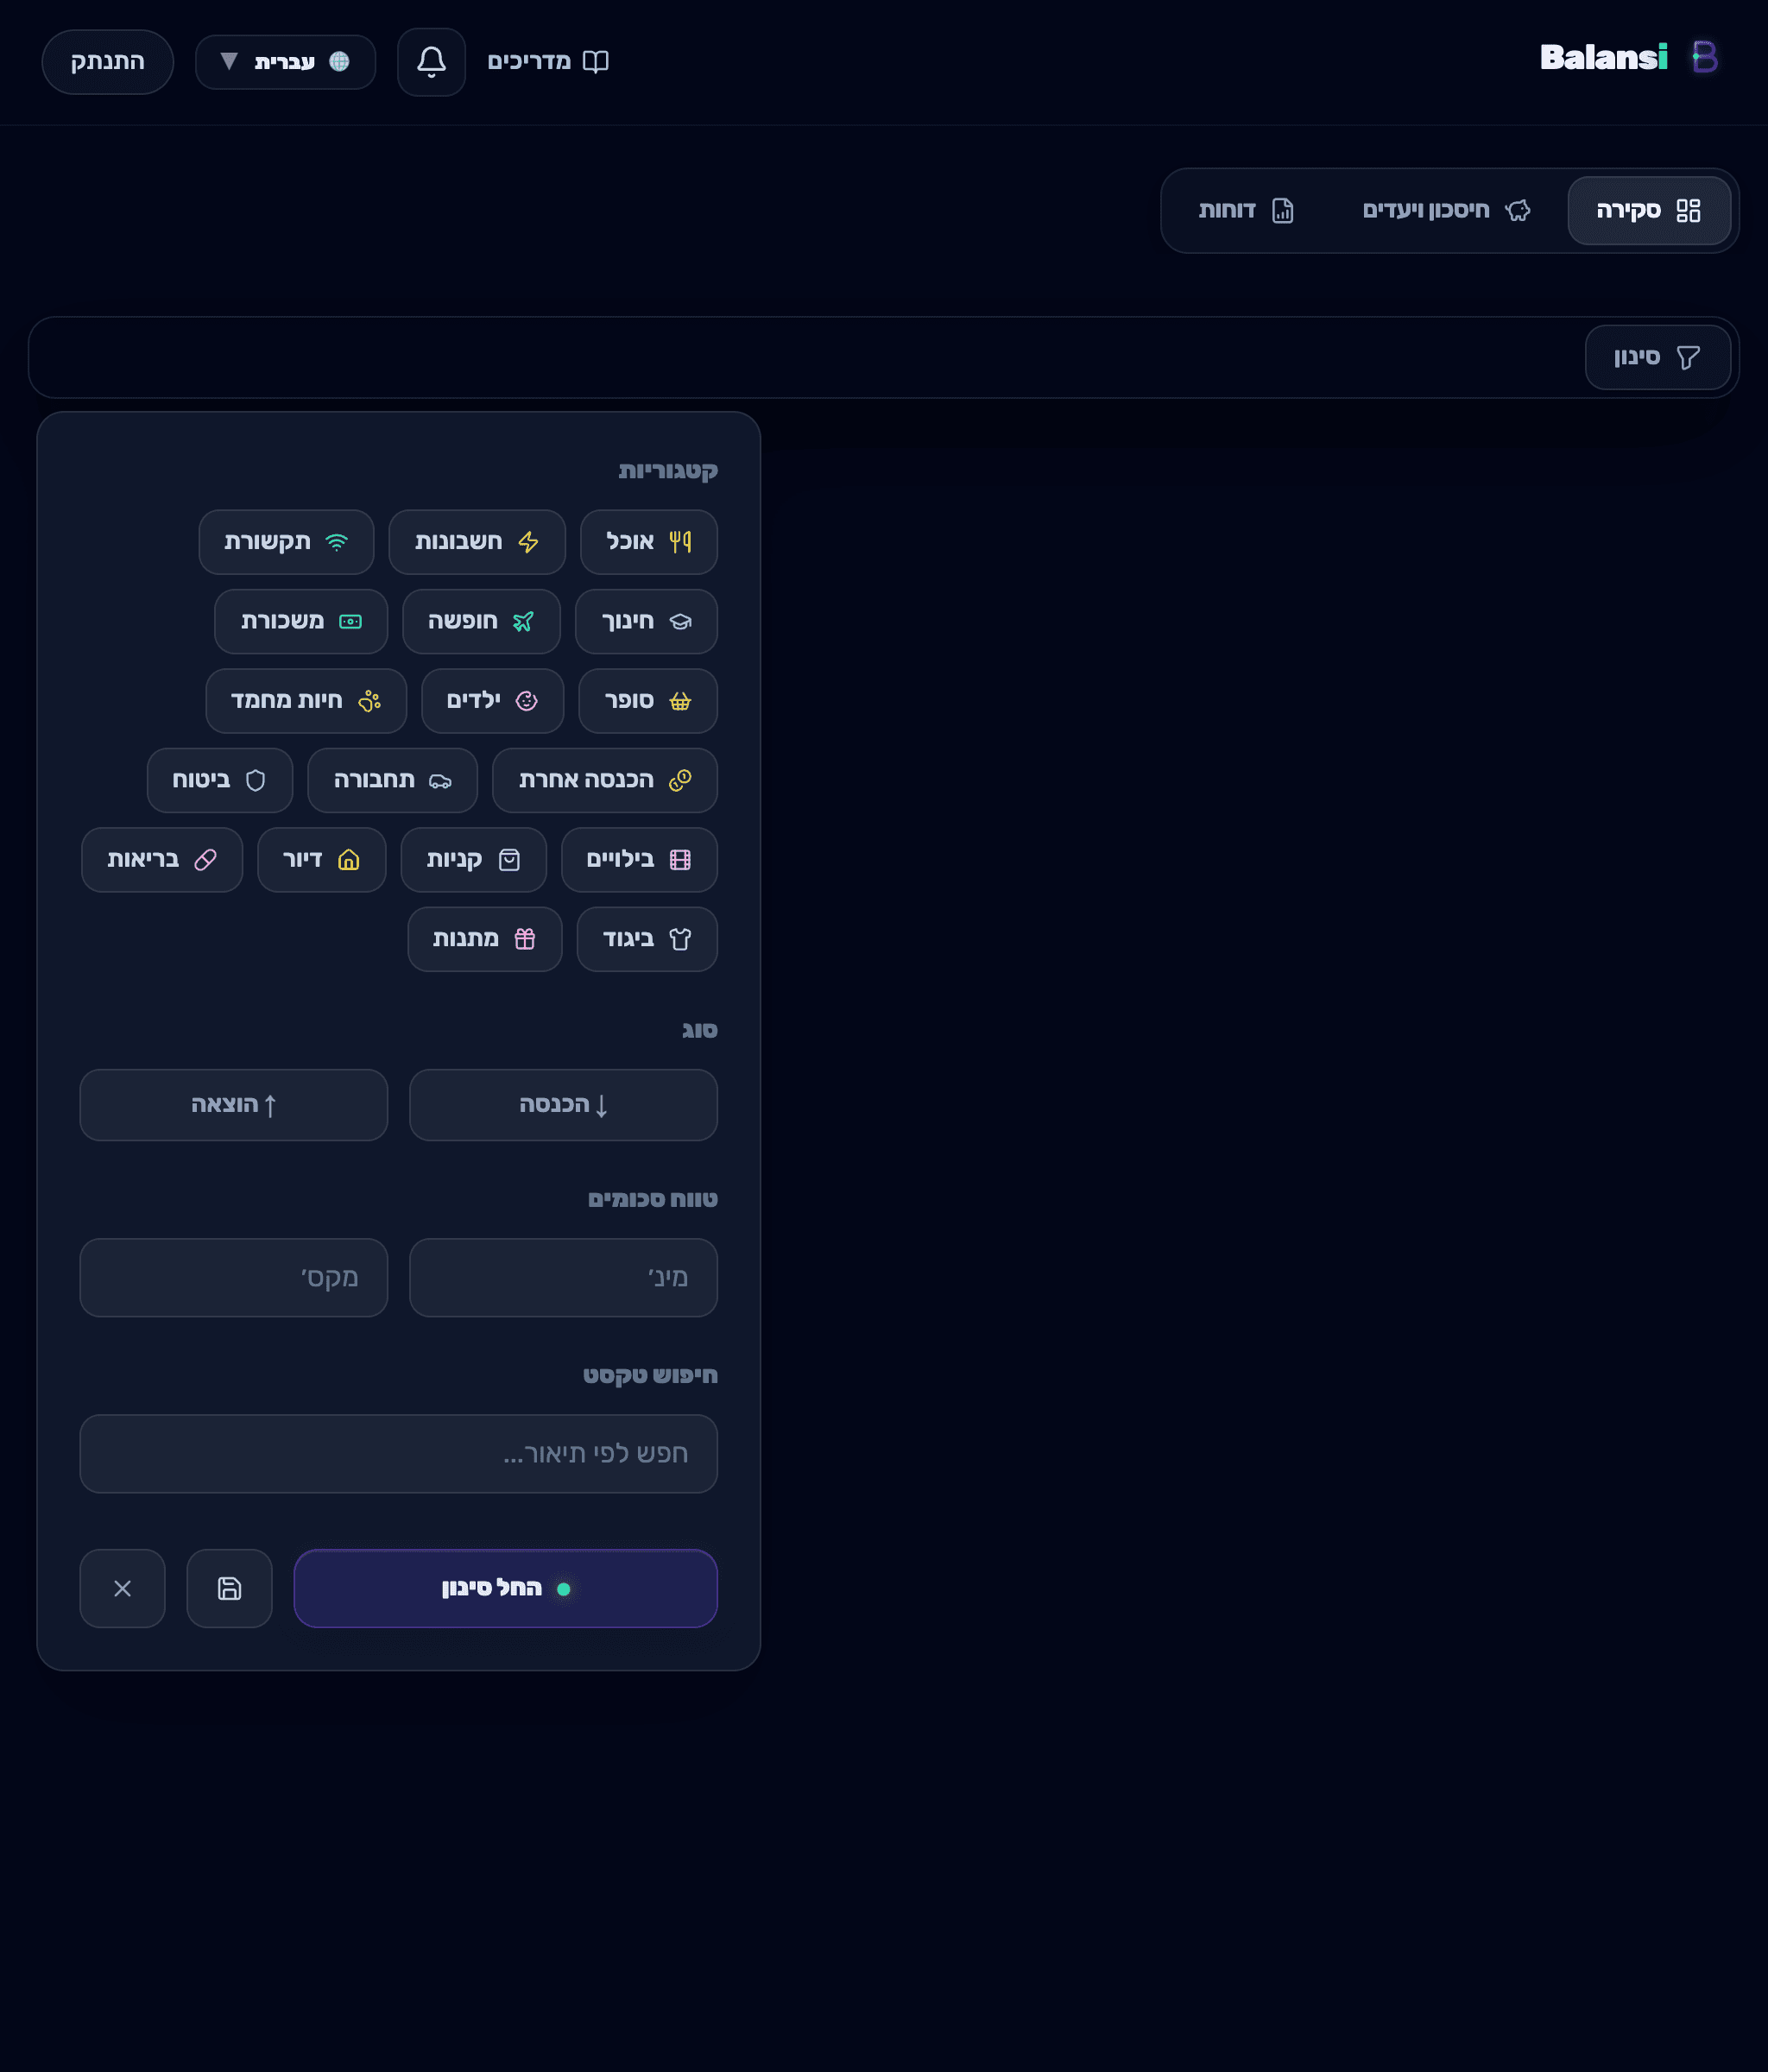
סינון לפי סוג, קטגוריה וסכום
לחצו על סינון ובחרו סוג (הכנסה/הוצאה), קטגוריות, טווח סכומים (מינ׳/מקס׳) או חיפוש טקסט לפי תיאור. לחצו החל סינון, ואם תרצו לשמור את ההגדרה לשימוש חוזר — לחצו שמור פילטר ותנו לו שם.
- 4
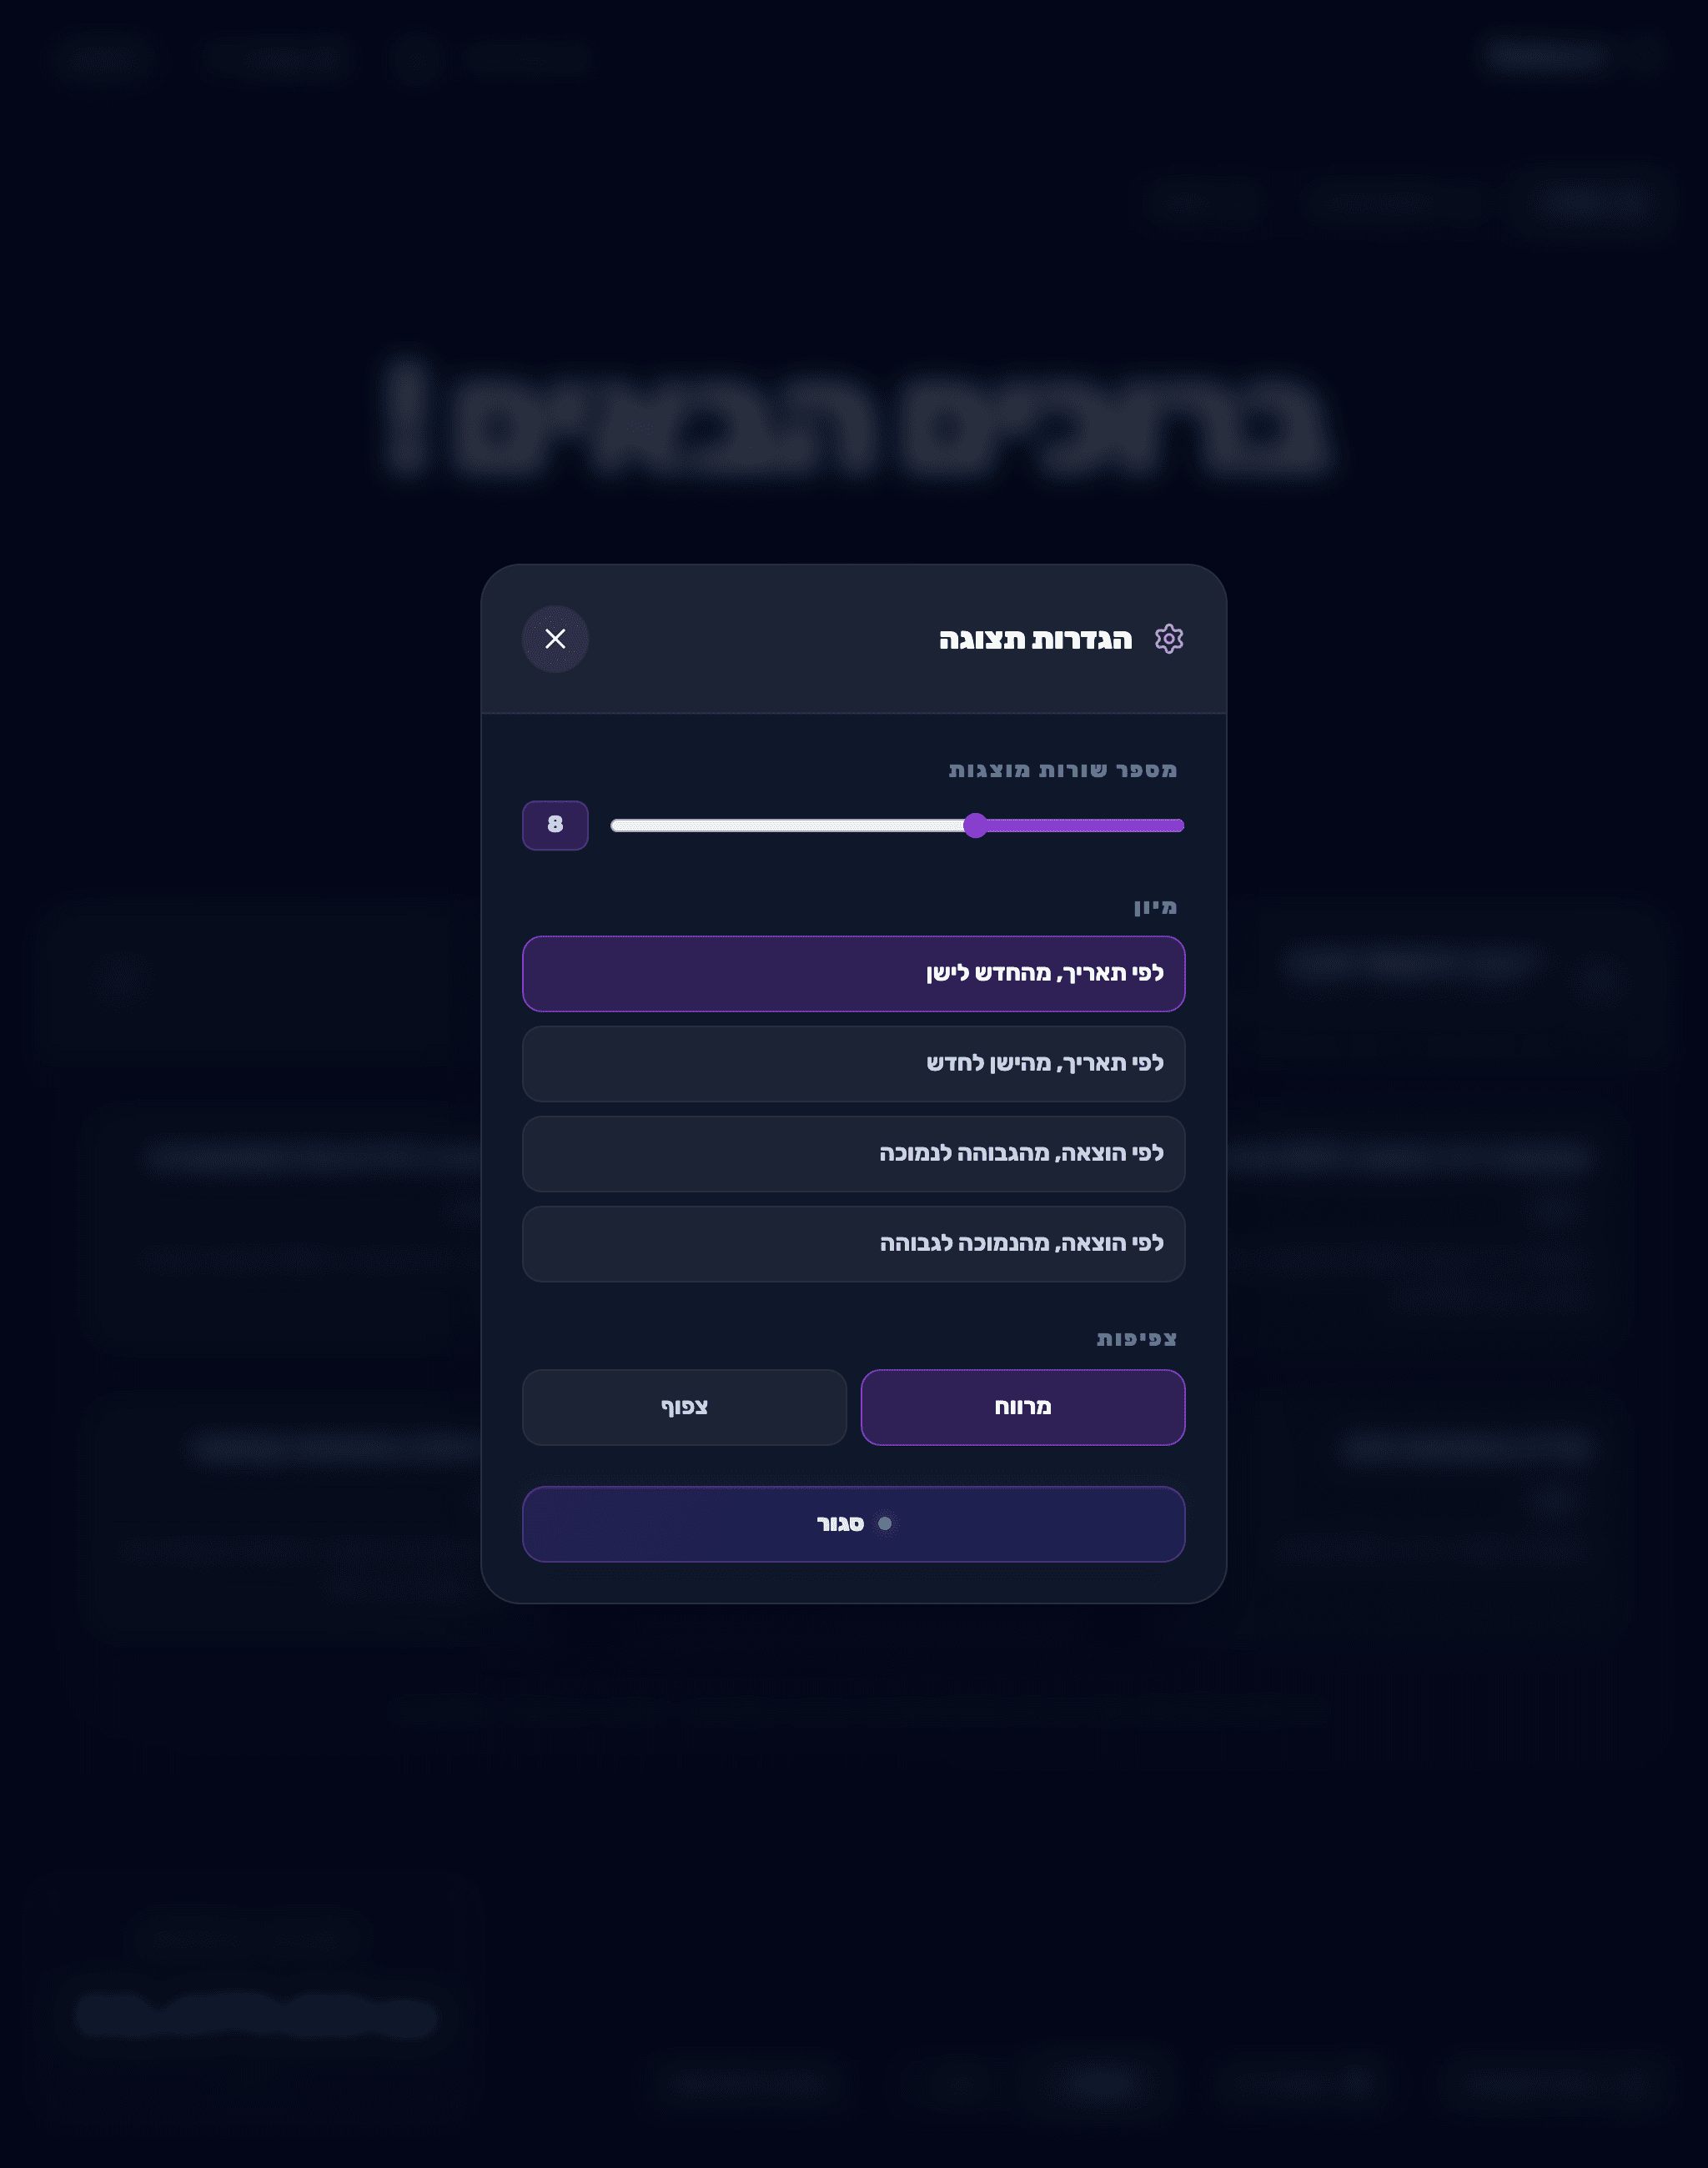
התאמת התצוגה לצרכים שלכם
לחצו על הגדרות תצוגה כדי לבחור מיון (למשל לפי תאריך, מהחדש לישן), צפיפות (מרווח או צפוף), מספר שורות מוצגות, ואף לעבור לתצוגה מורחבת לתמונה רחבה יותר.
- 5
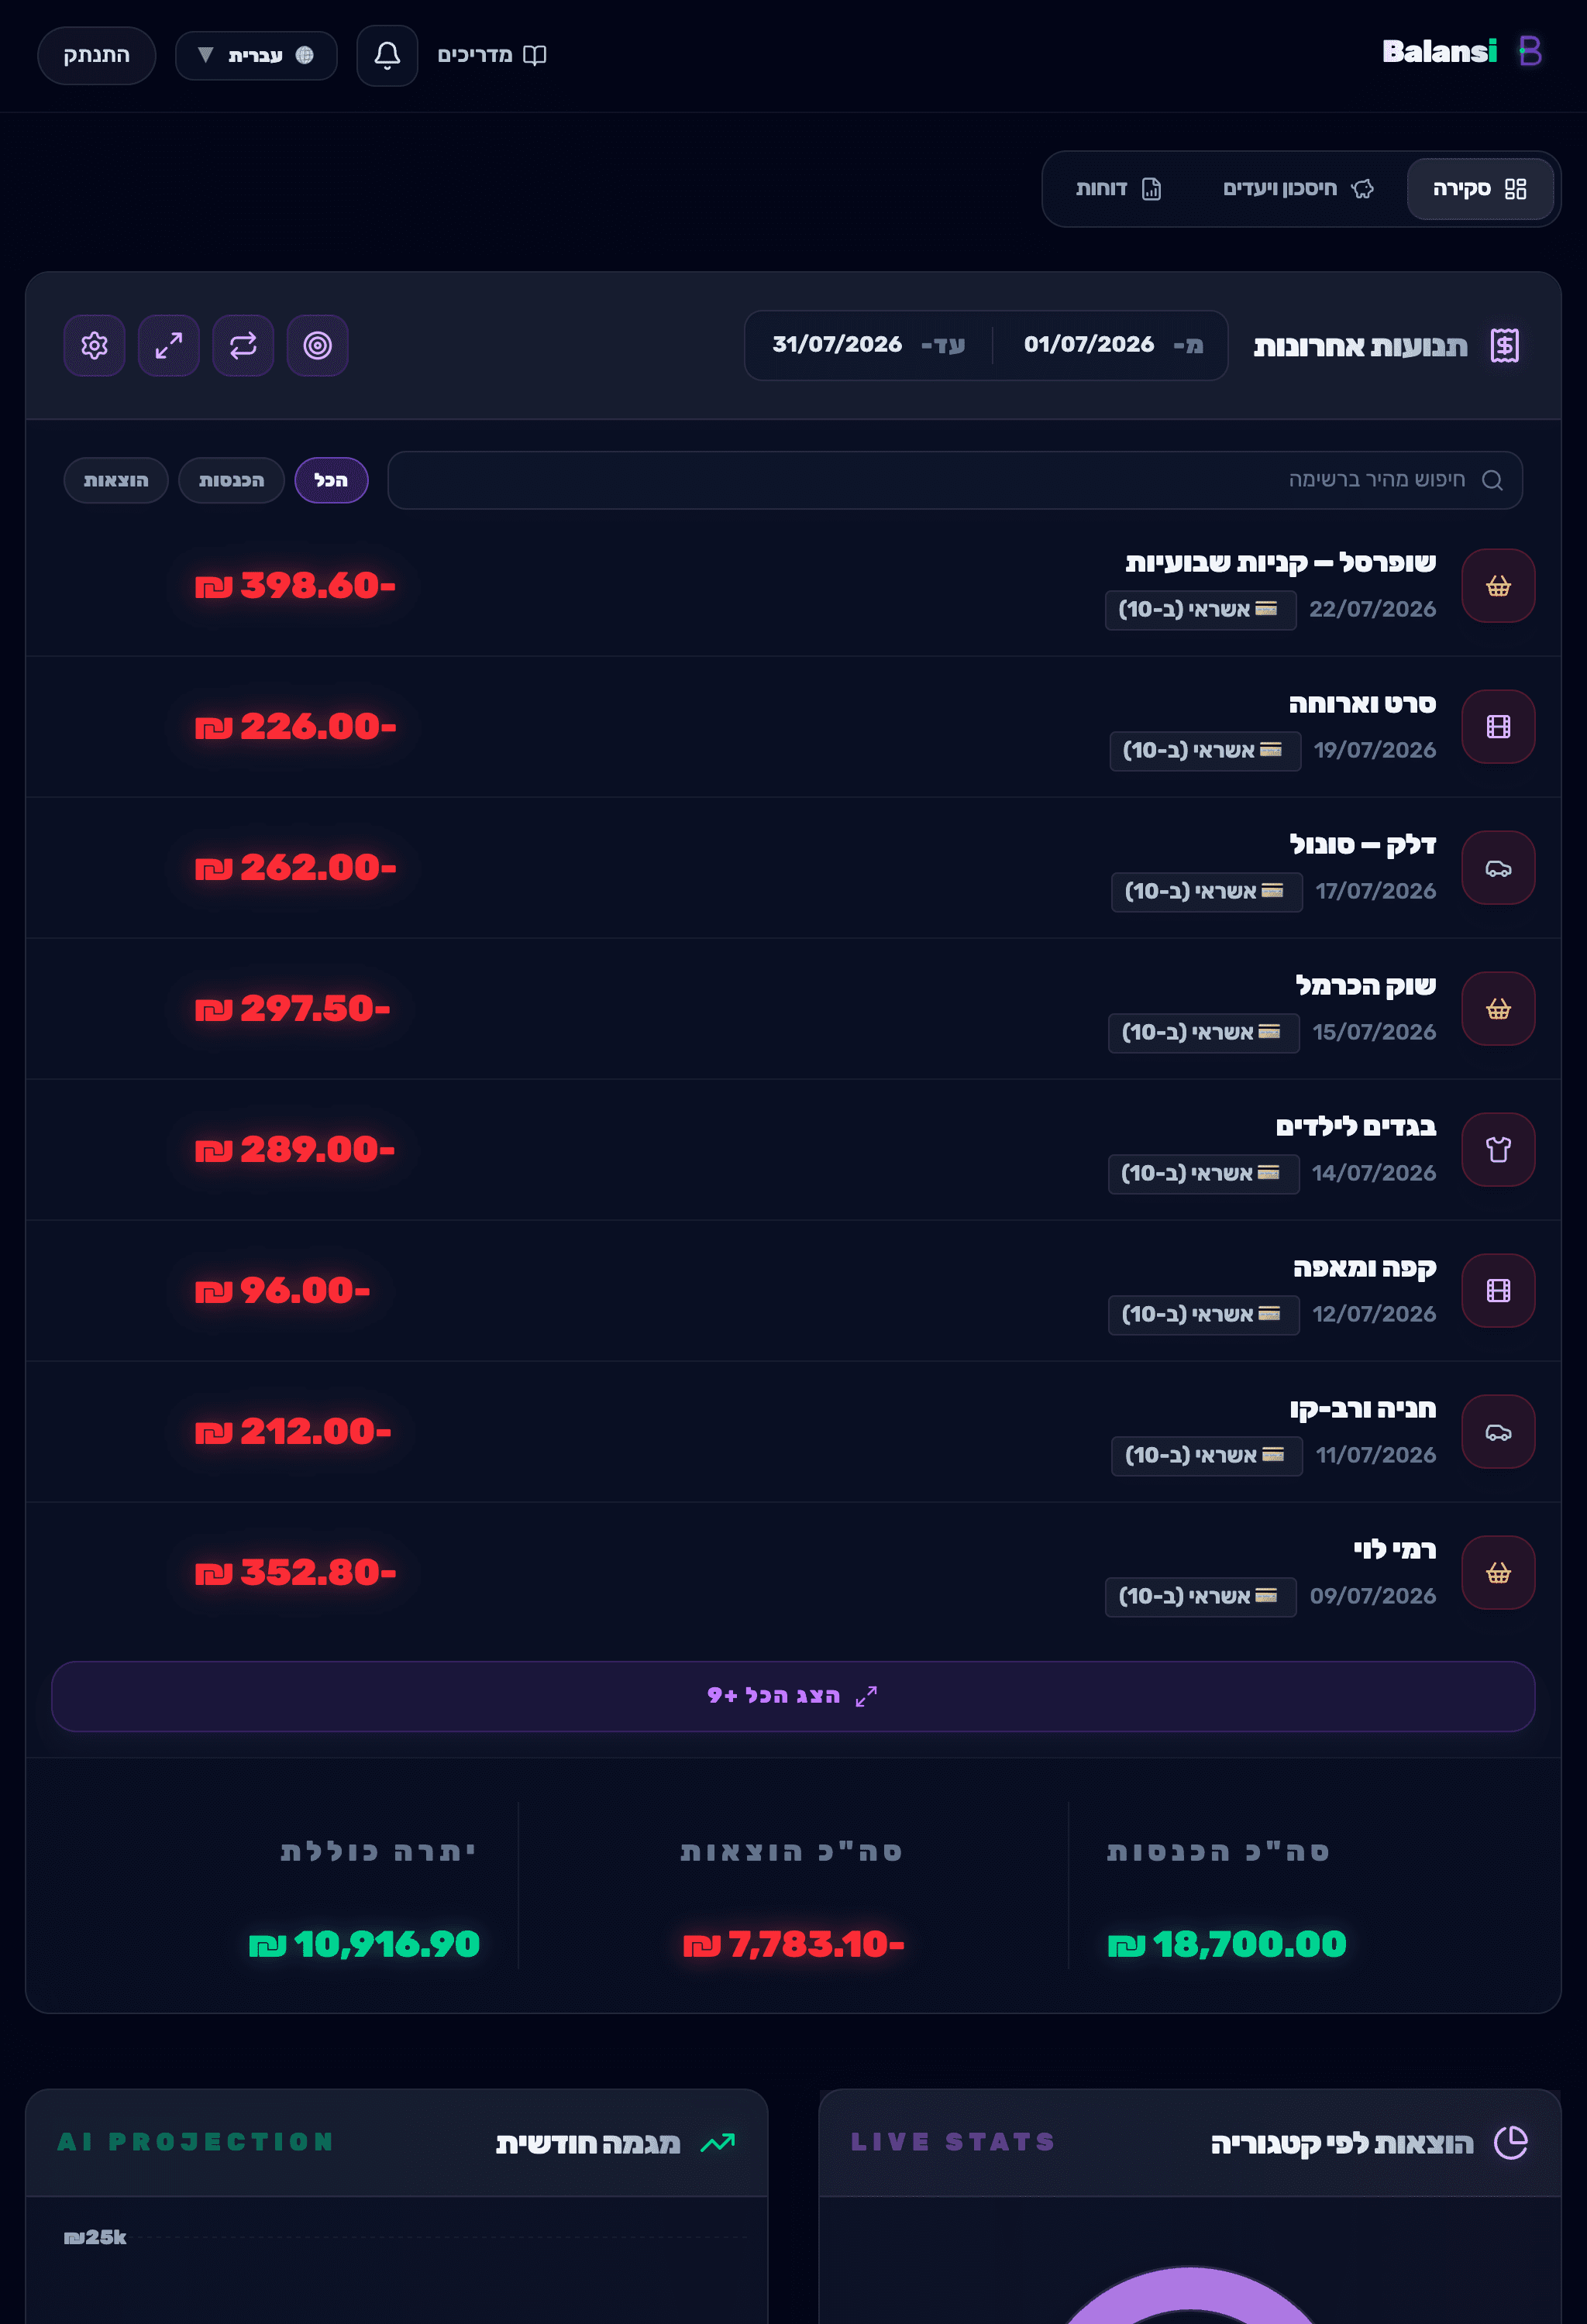
חיפוש מהיר וקיבוץ לפי יום
השתמשו בתיבת חיפוש מהיר ברשימה כדי לאתר תנועה לפי תיאור, או הפעילו מקובץ לפי יום כדי לראות את התנועות מסודרות יום אחר יום. אפשר גם לסנן במהירות לפי הכל / הכנסות / הוצאות.
- 6
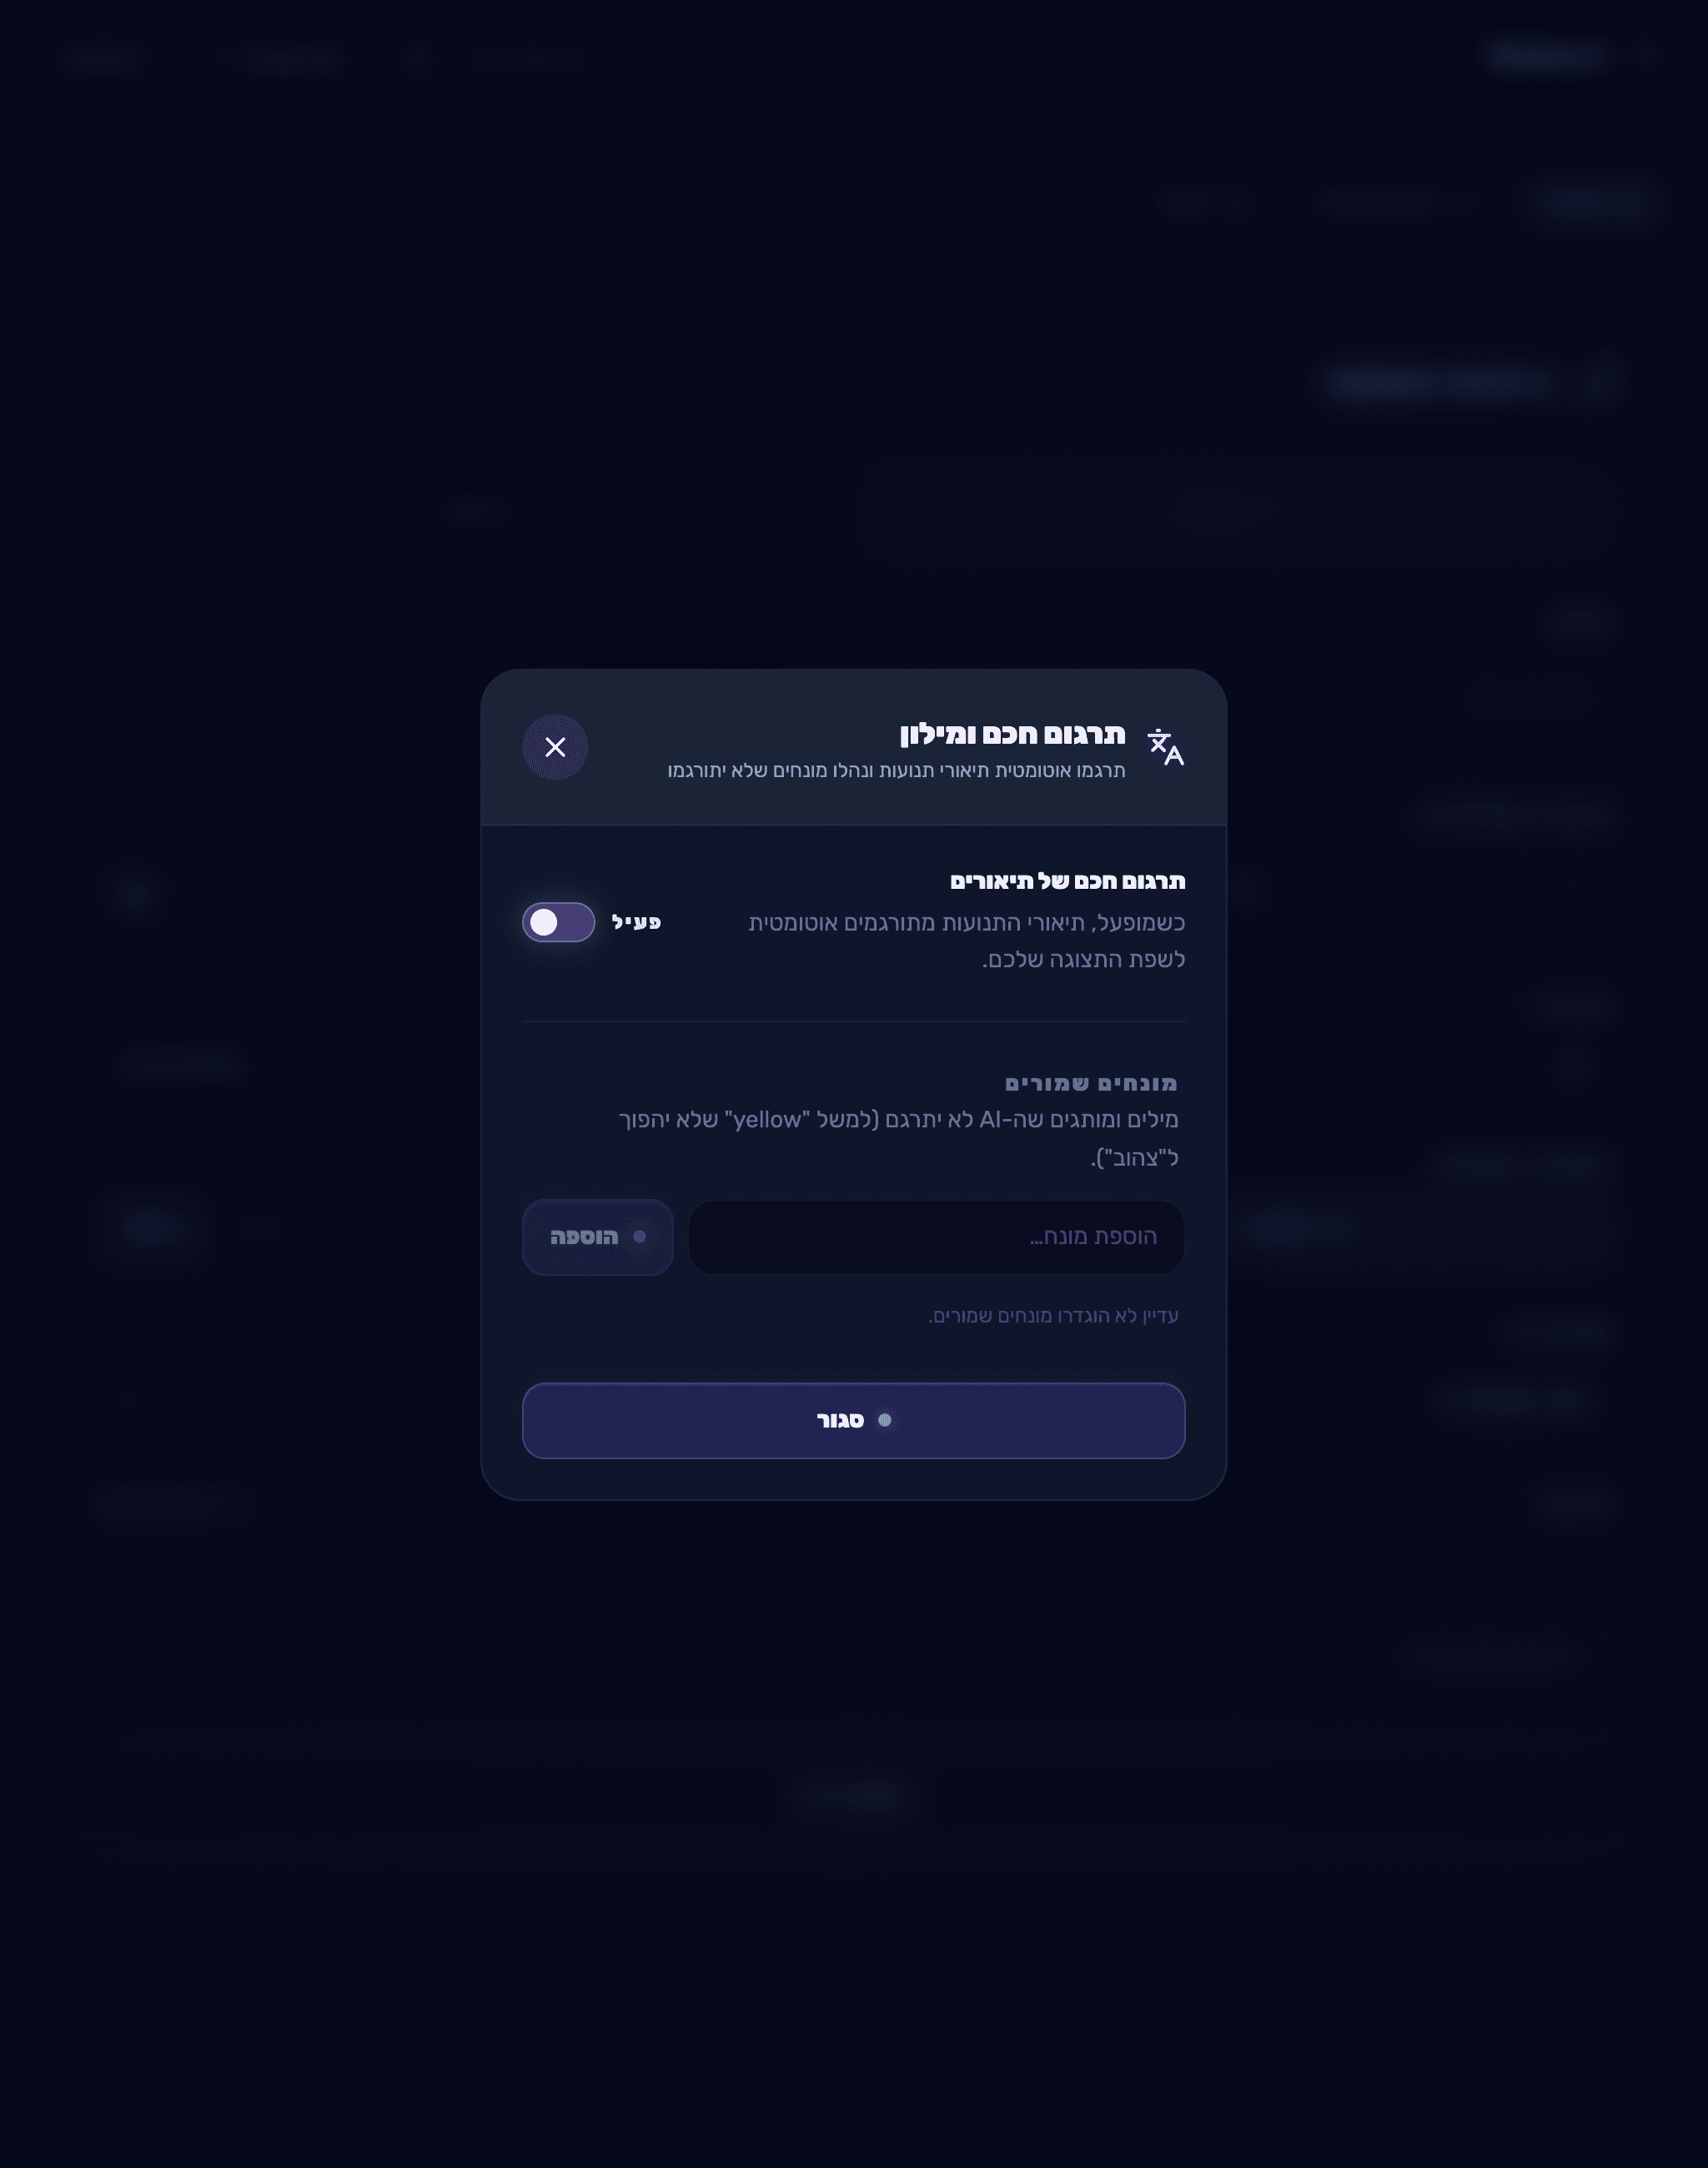
תרגום חכם ומילון מונחים
אם למשק הבית יש מנוי AI, בטופס הוספת תנועה יופיע ליד שדה התיאור הכפתור "הגדרות תרגום". שם אפשר להפעיל או לכבות תרגום חכם אוטומטי של תיאורי התנועות לשפת התצוגה, ולנהל "מילון" — מונחים, שמות ומותגים שה-AI לא יתרגם (למשל שם של עסק). בנוסף, בכל תנועה אפשר לסמן "אל תתרגם תיאור זה" כדי לדלג על התרגום רק עבורה.