Savings, Funds and Payslip
Here you'll learn how to open savings funds, track deposits with ease, and how to scan a payslip so the app calculates your pension and study-fund percentages for you — without ever storing a photo.
- 1
Create a new savings fund
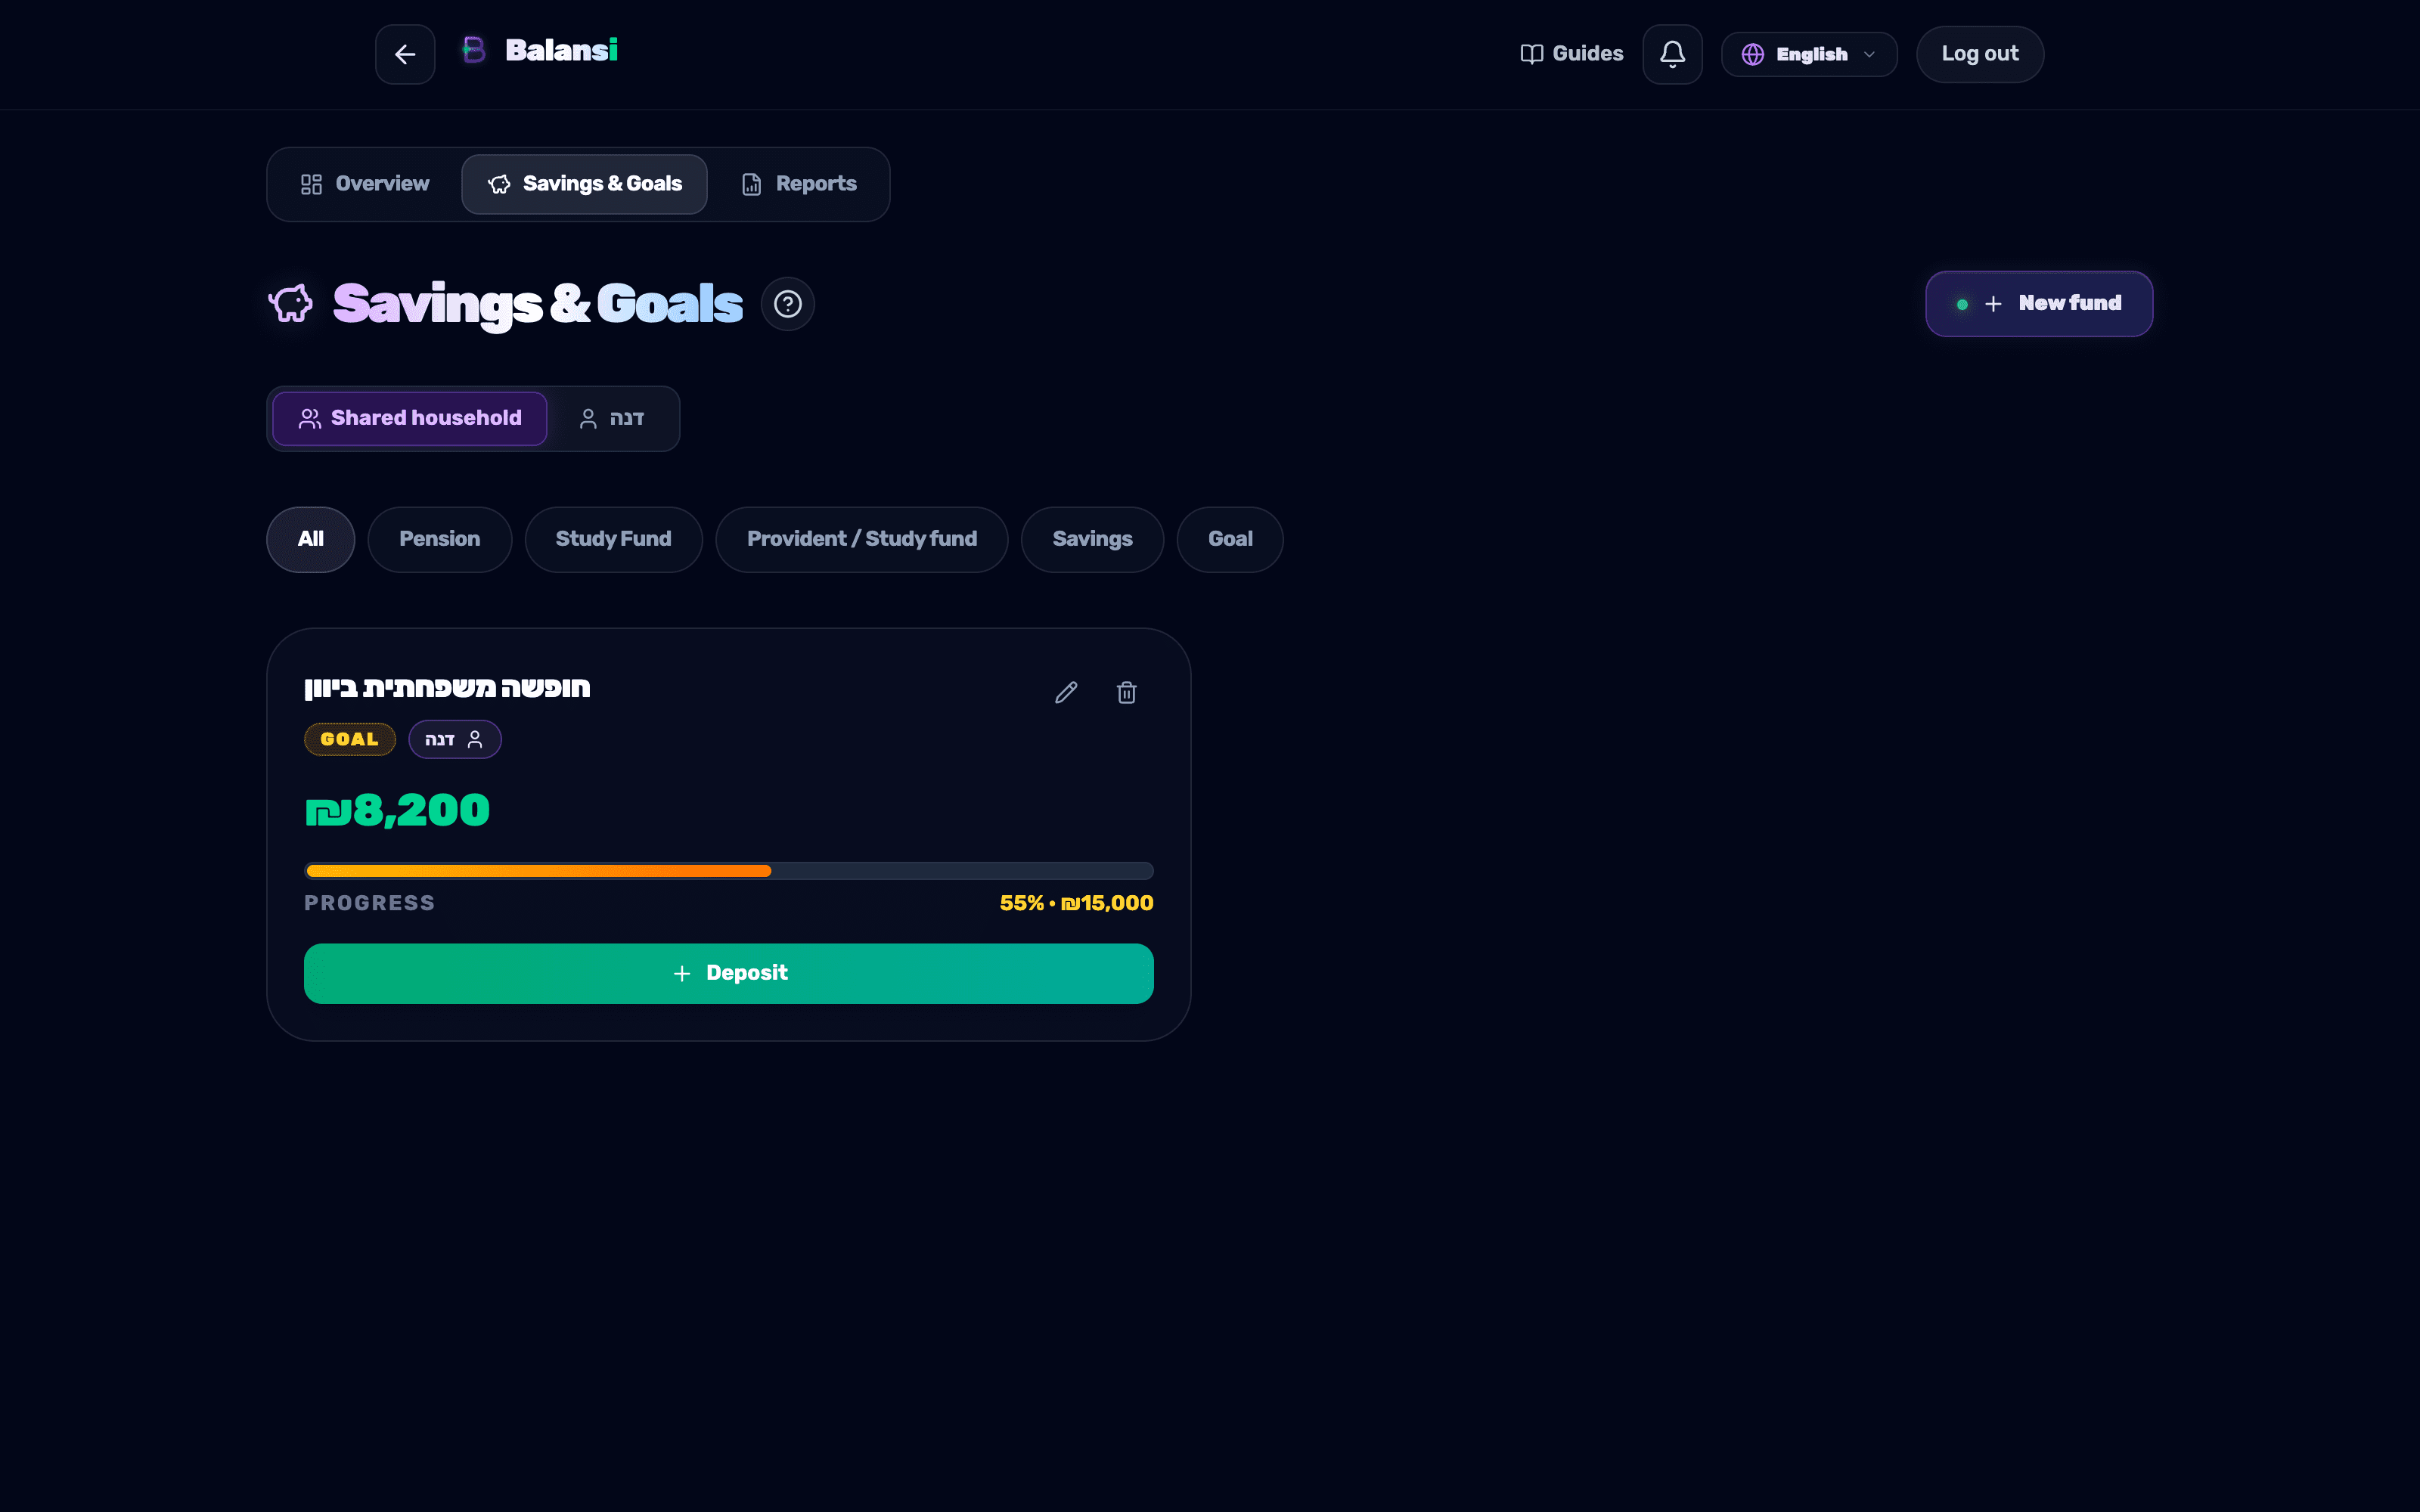
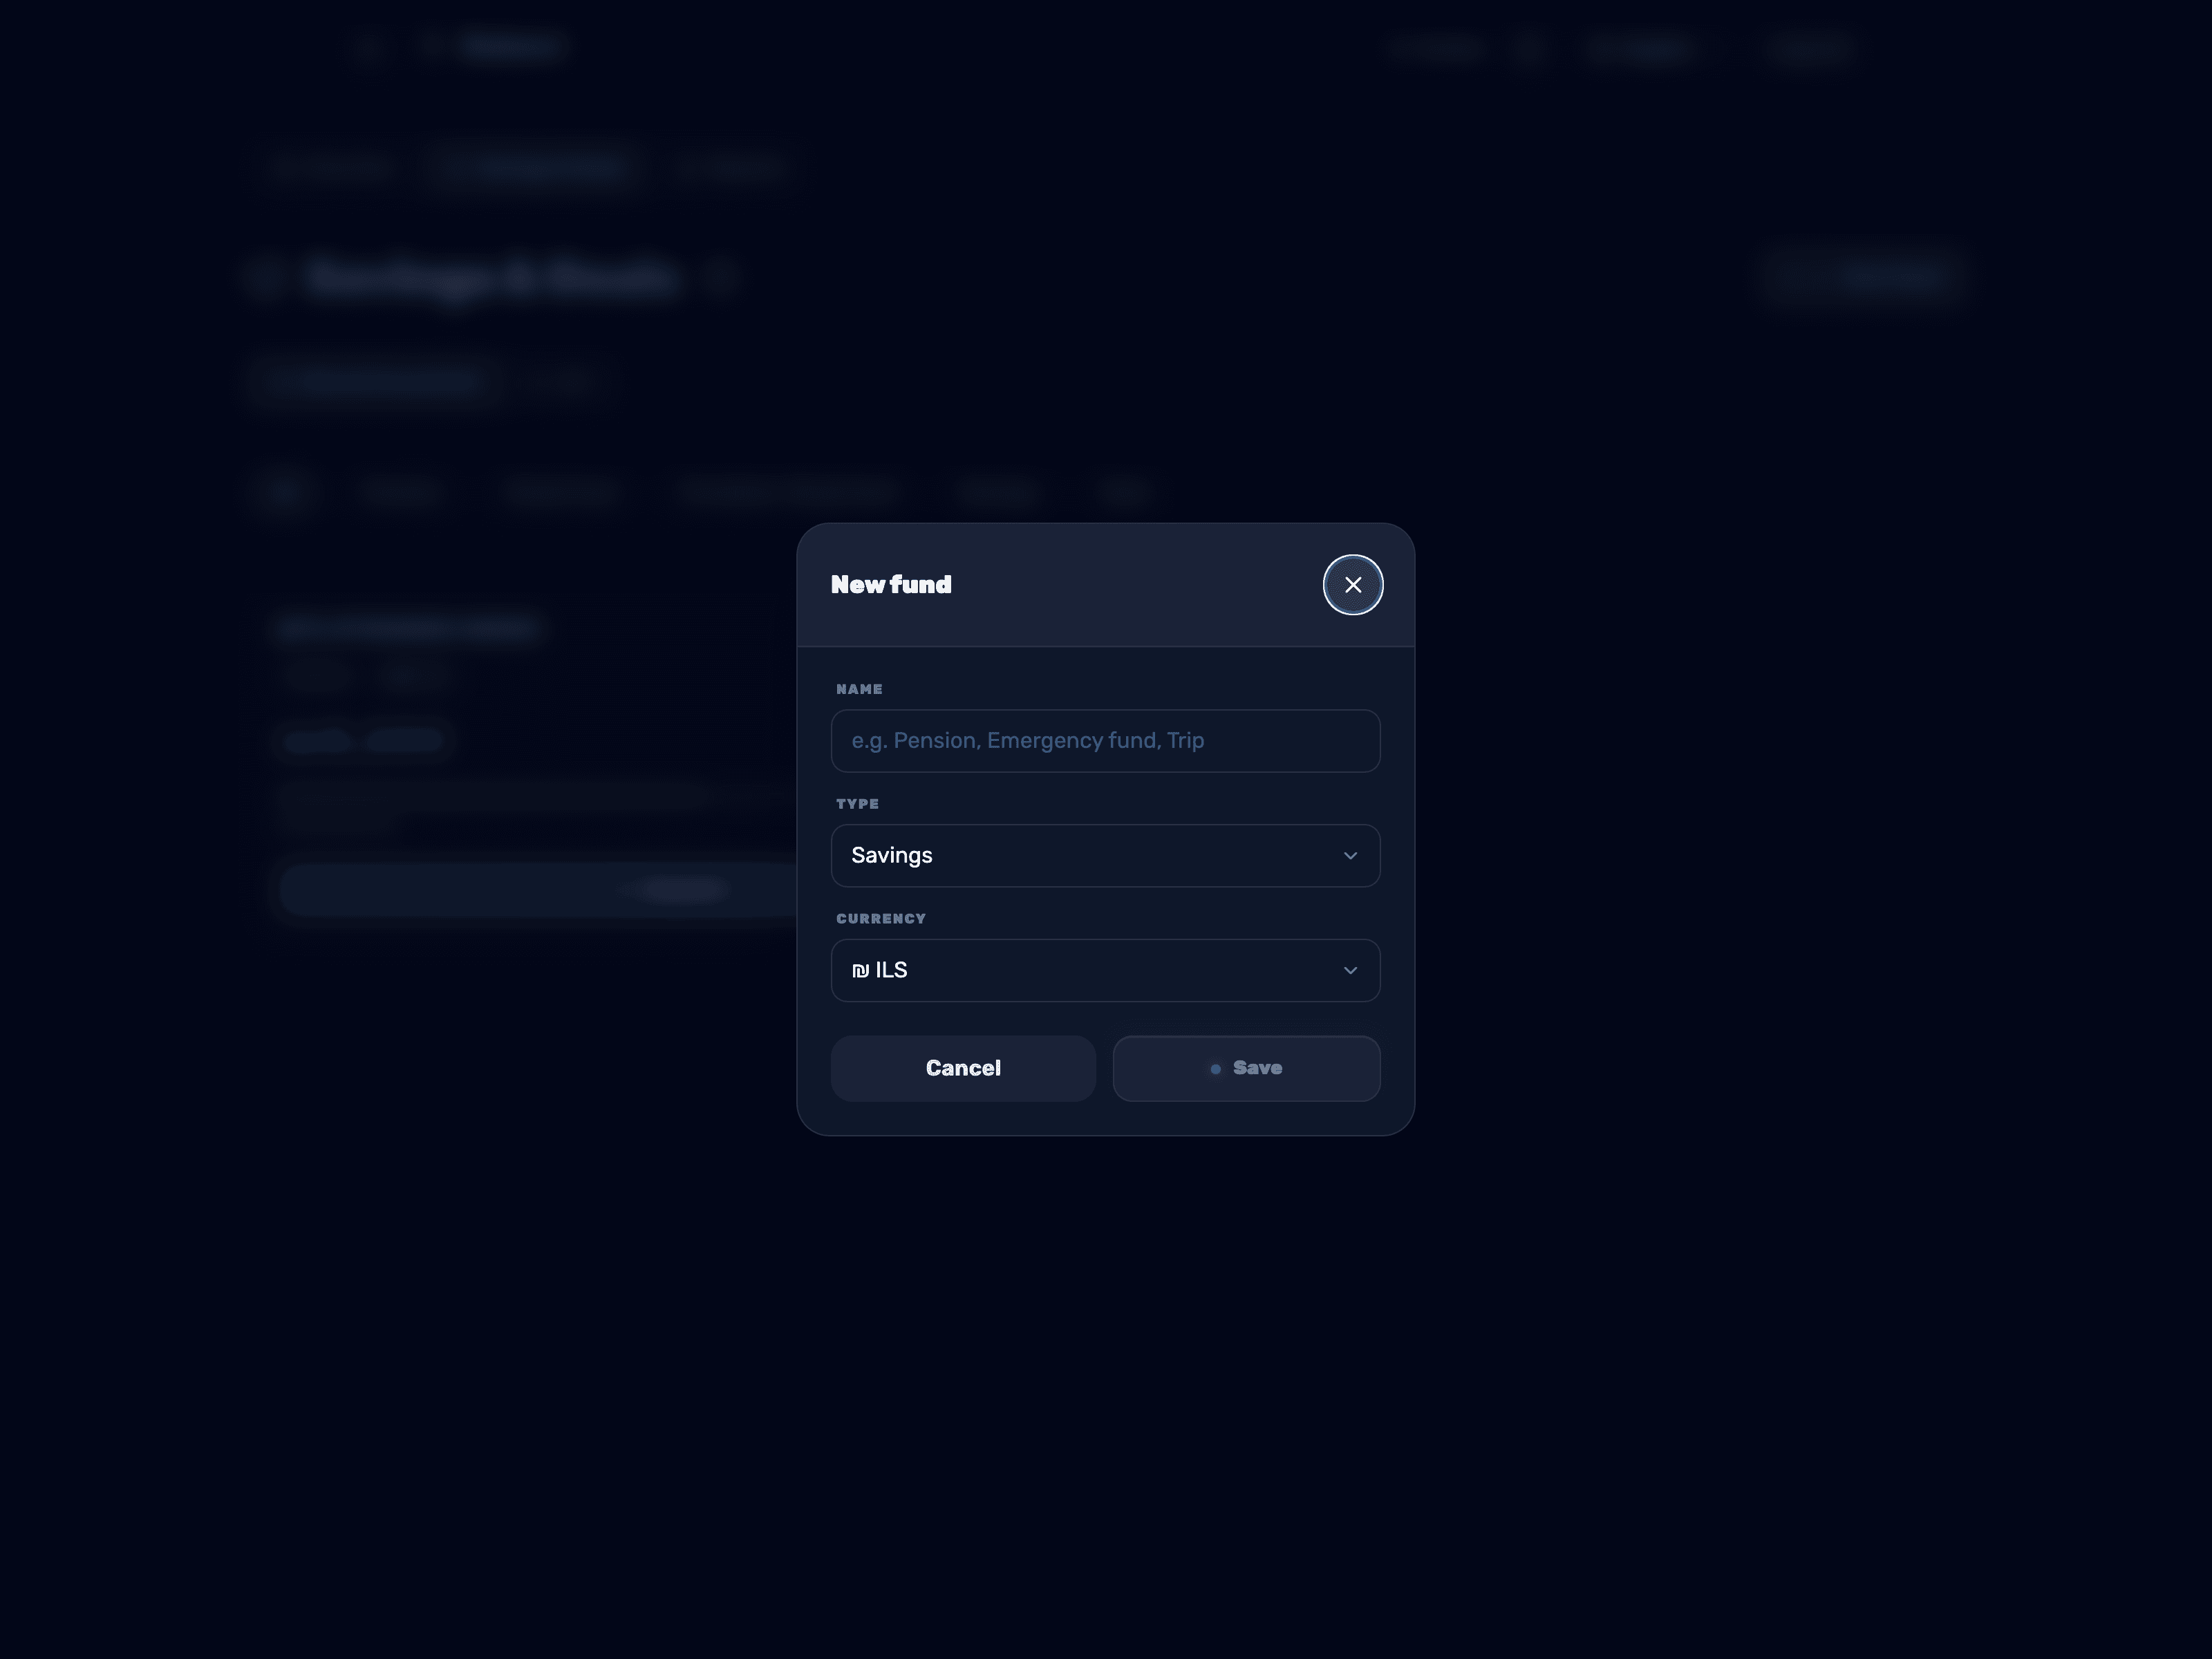
In the Savings and Goals tab, tap New Fund, give it a name (for example: pension, emergency fund, or trip), choose a type — pension, study fund, provident / study fund, savings, or goal — and enter a target amount and current value.
- 2
Update the current value to match your bank
Each fund's value is simply the deposits you've logged manually — the app never connects to your bank or scans data automatically. You can edit Current Value at any time so it matches your bank statement or pension report exactly.
- 3
Log a deposit
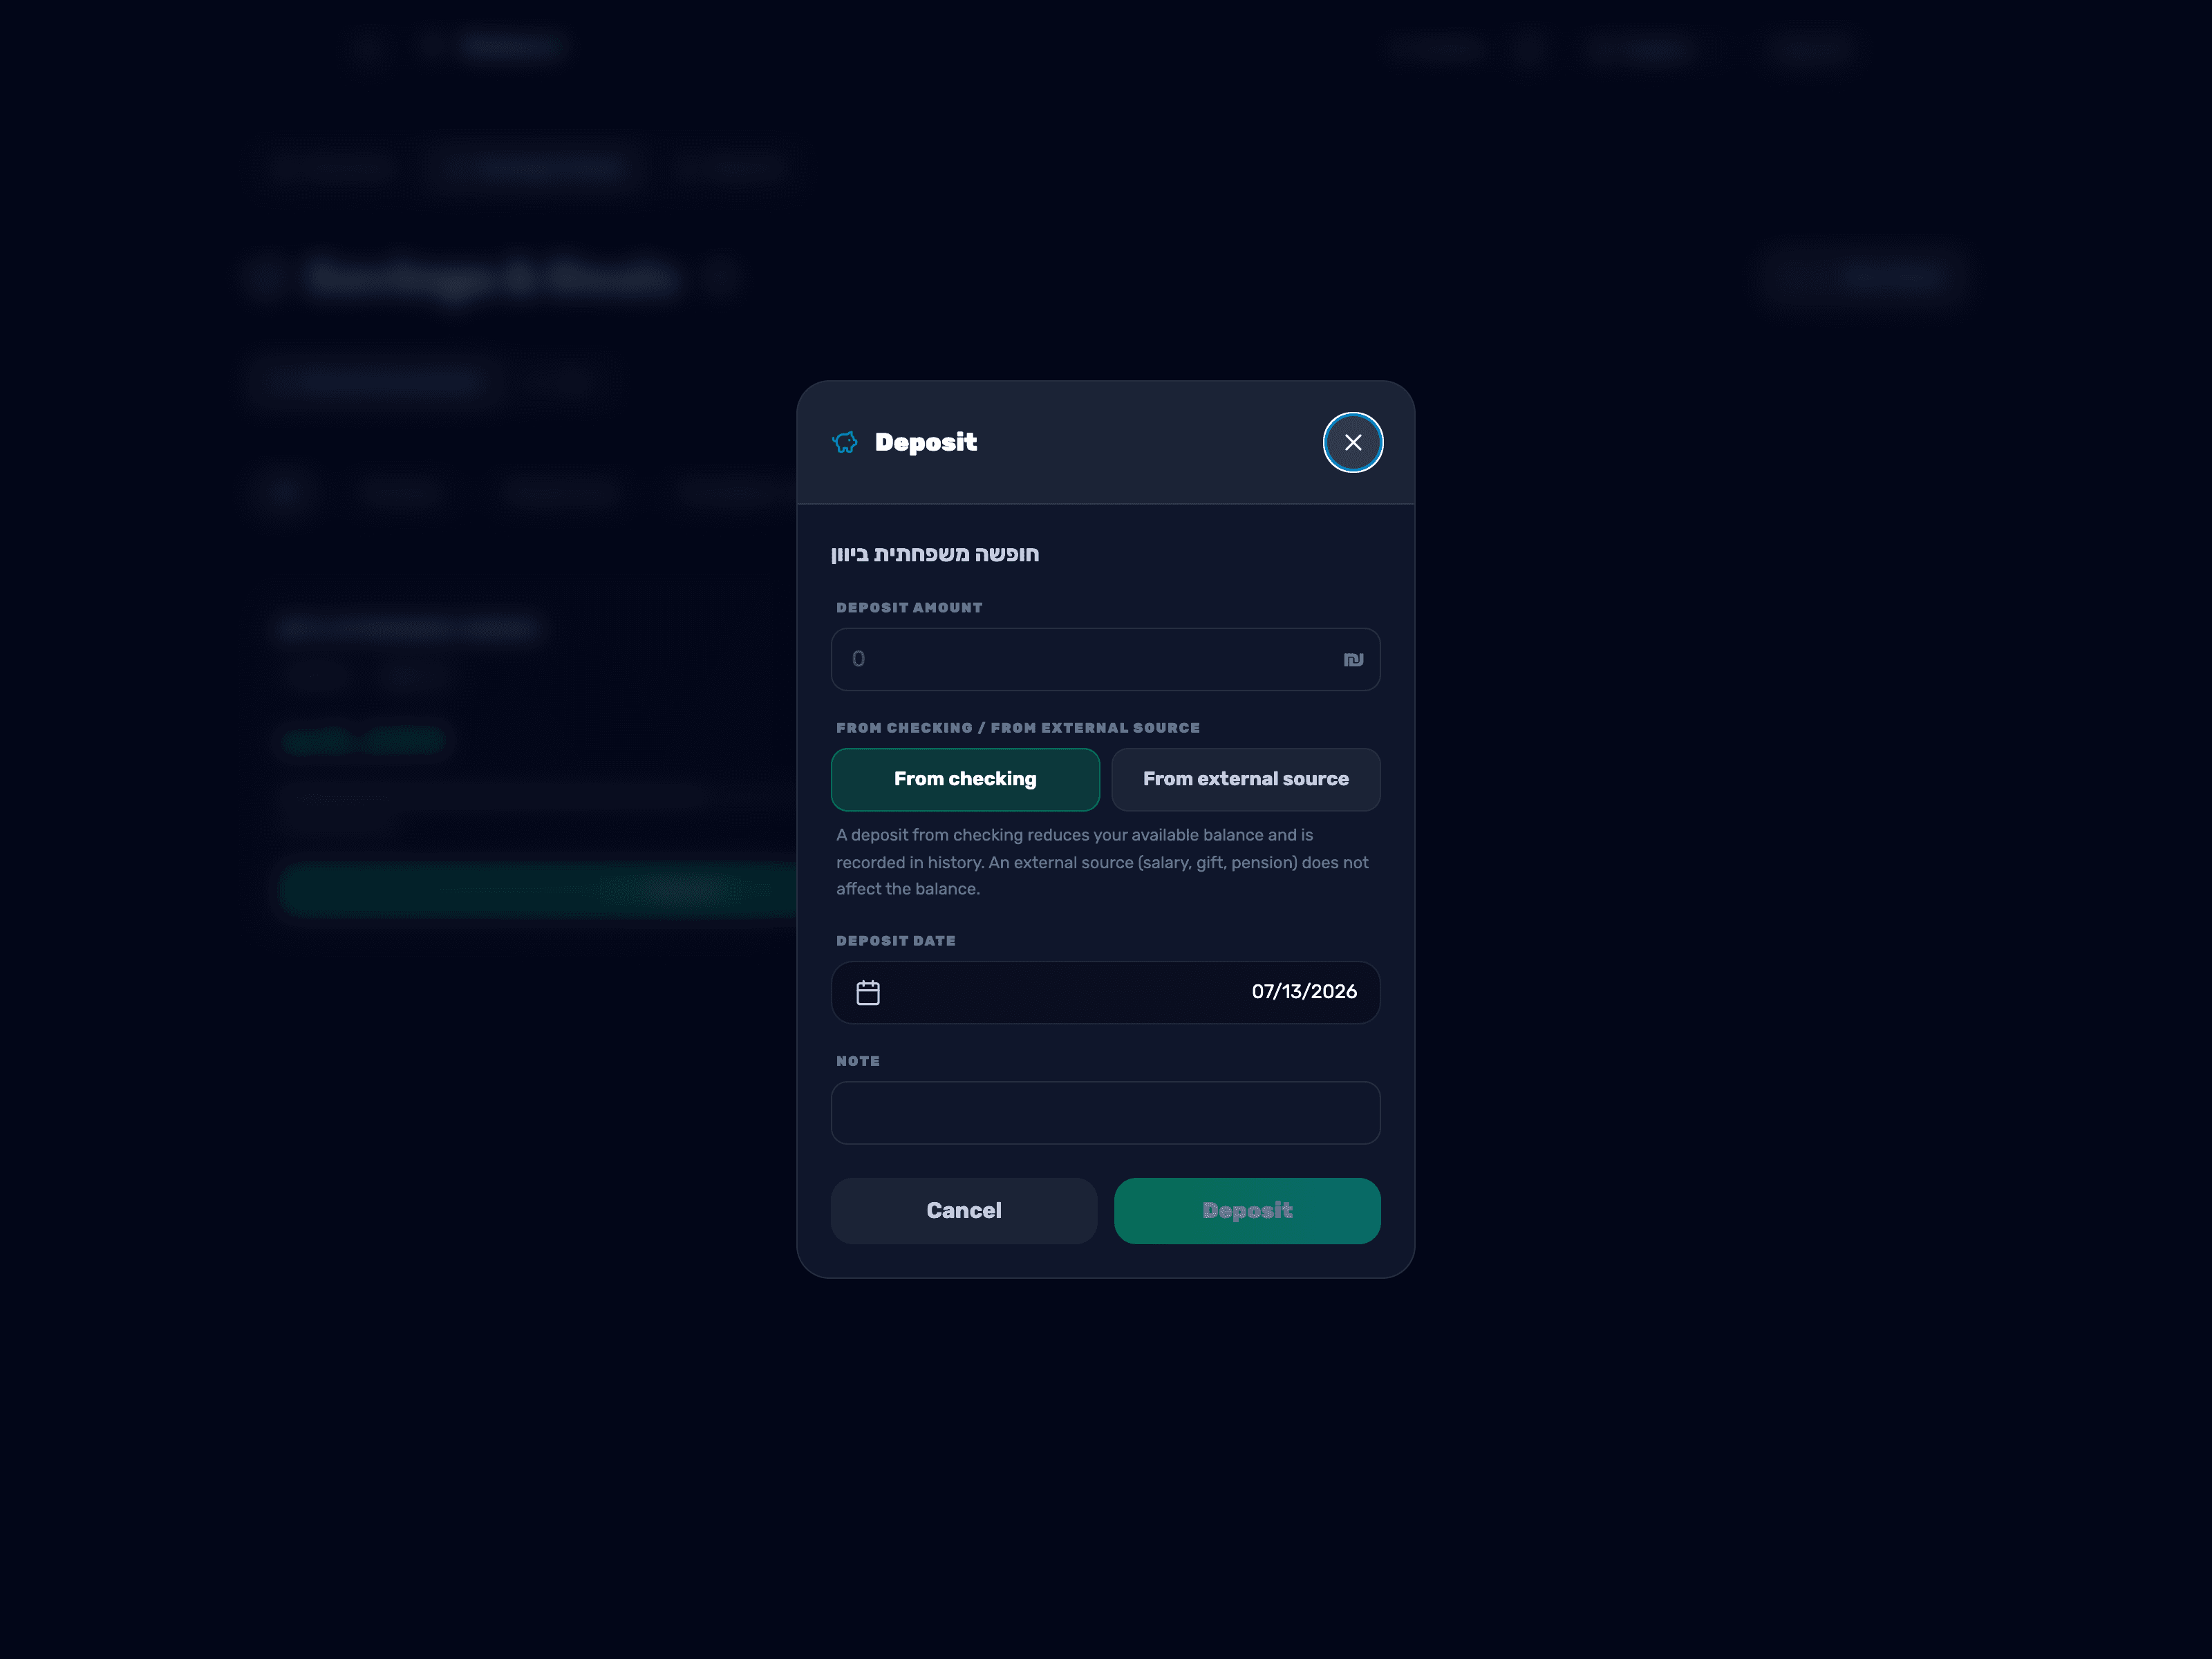
Tap Deposit, enter the Deposit Amount and Deposit Date, then choose a source: From Checking (reduces your available balance) or From External Source, like a salary or gift, which does not affect your balance.
- 4
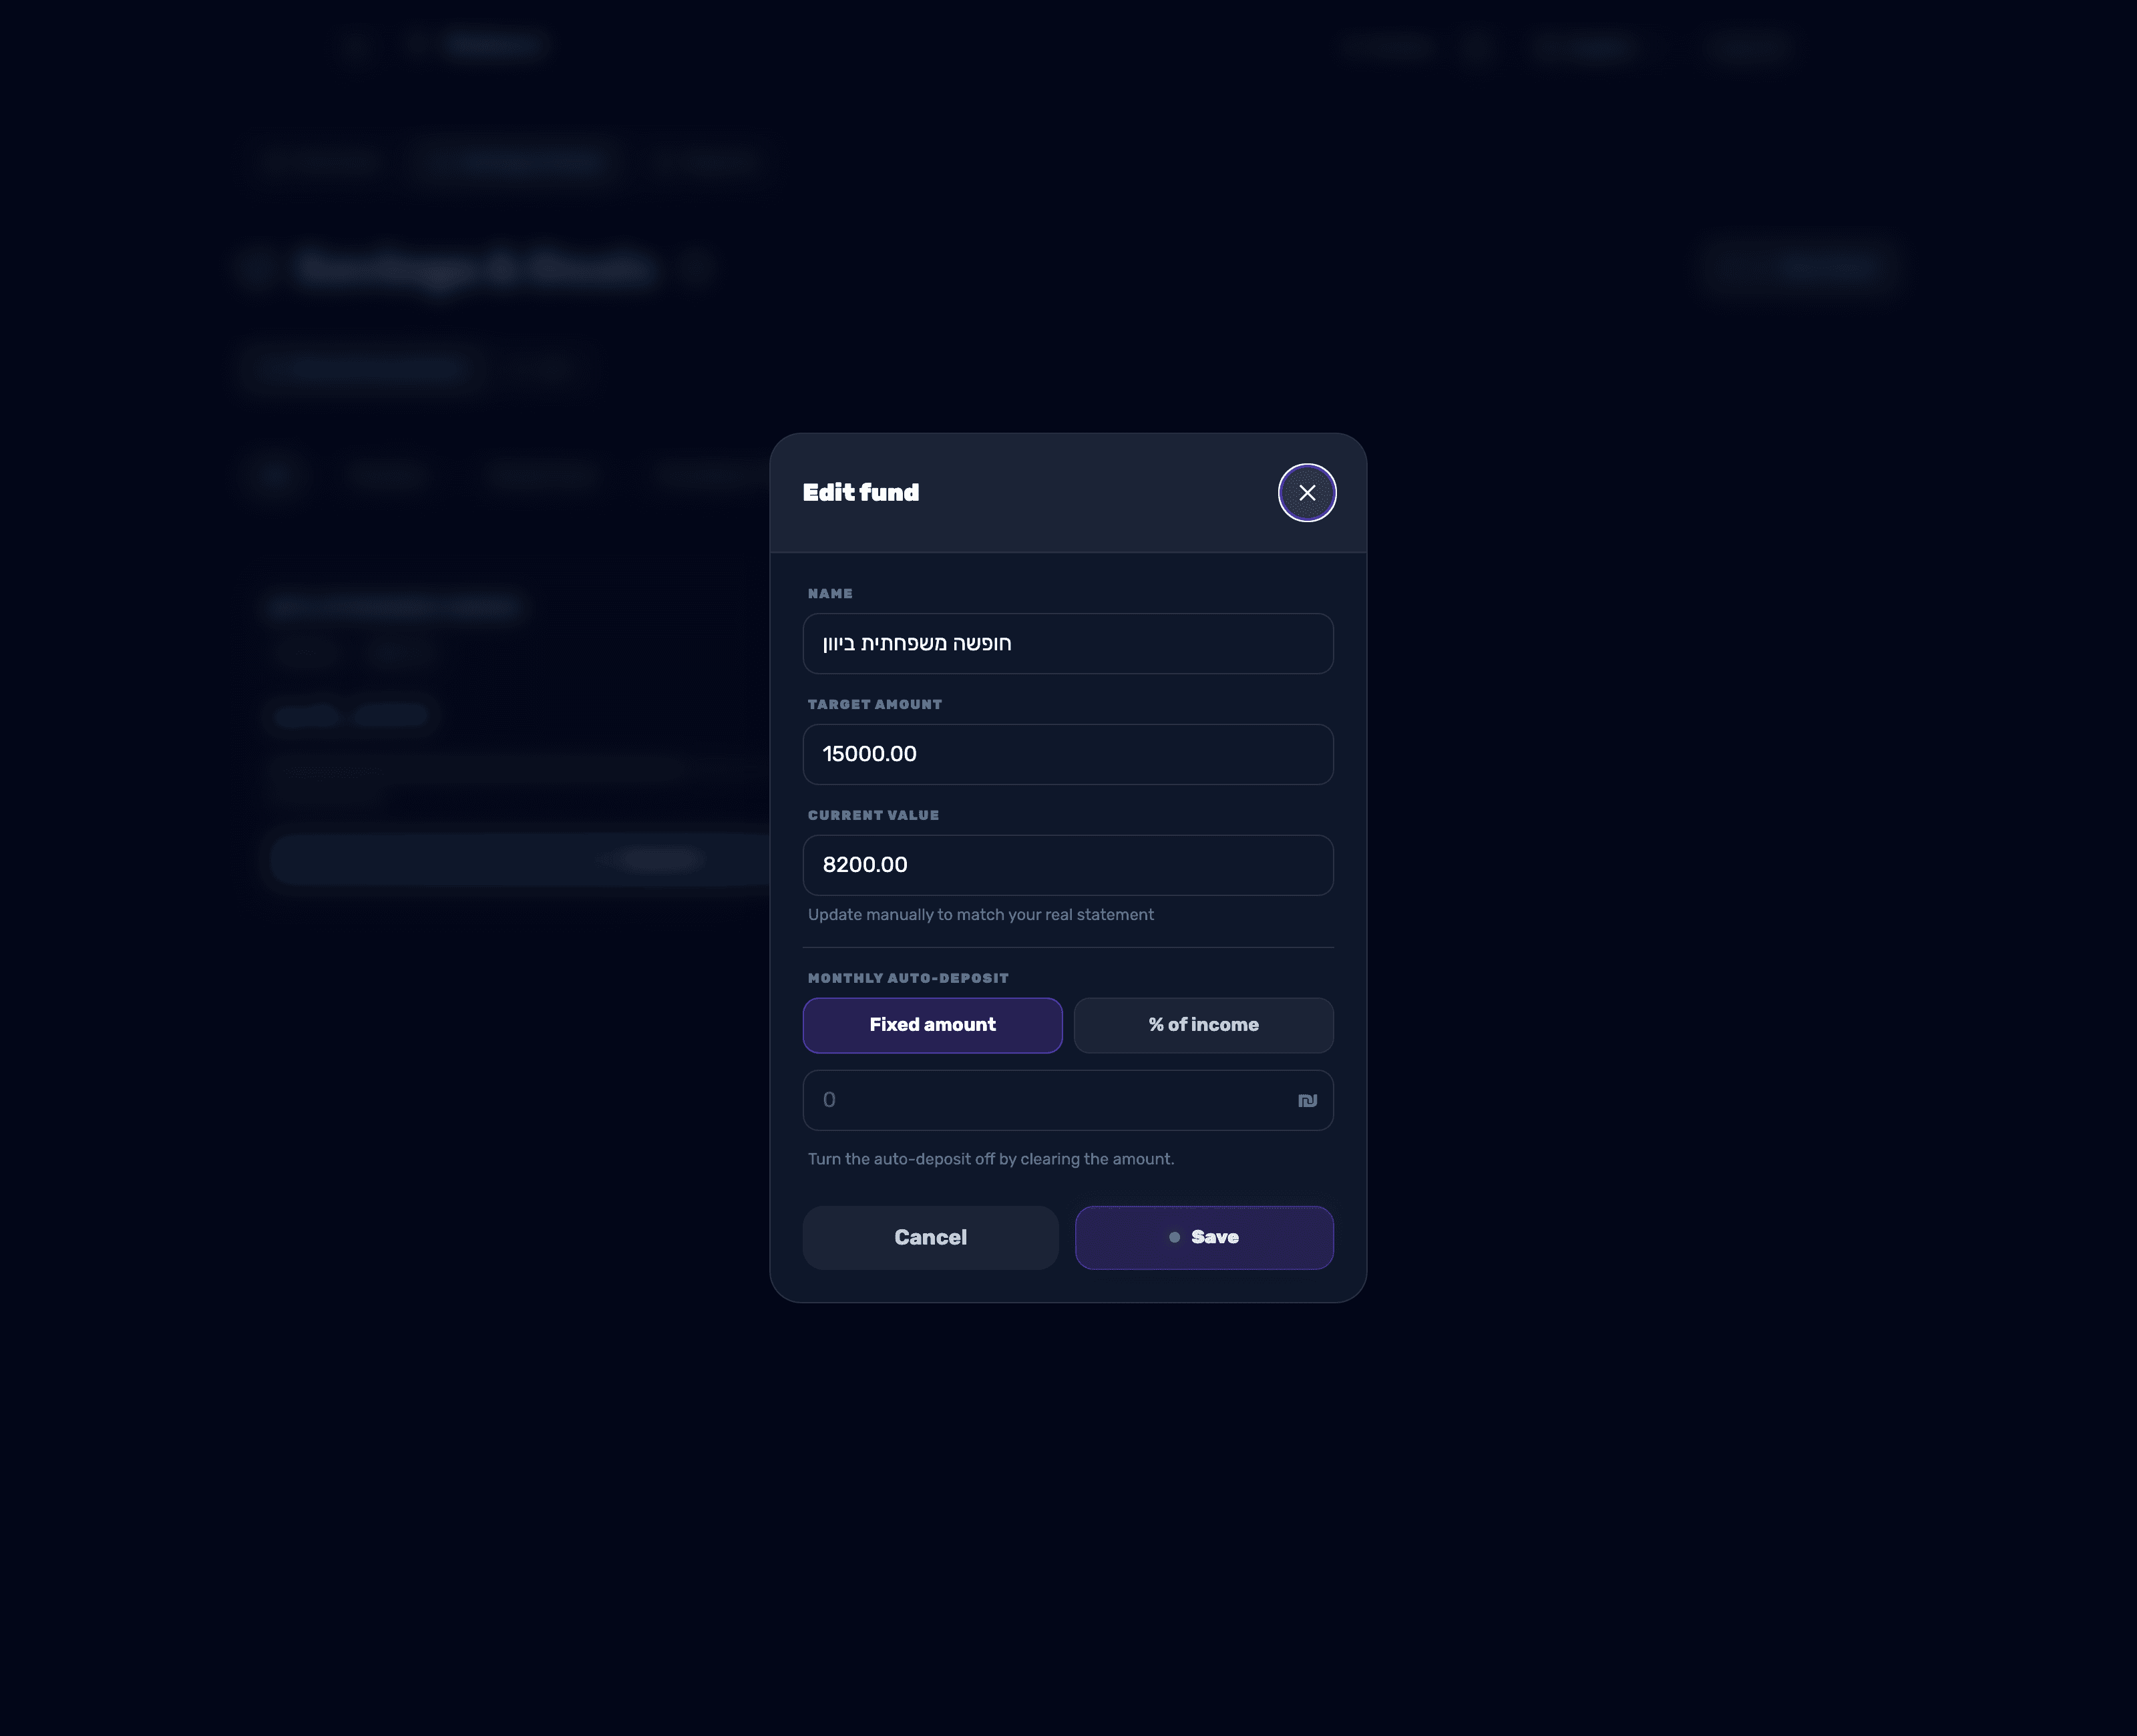
Turn on automatic monthly deposits
In the fund's settings, turn on Automatic Monthly Deposit and choose a method — a fixed amount or a percentage of monthly income. The deposit is made automatically once a month when you open the app; to turn it off, reset the amount.
- 5
Calculate your pension percentage from a payslip
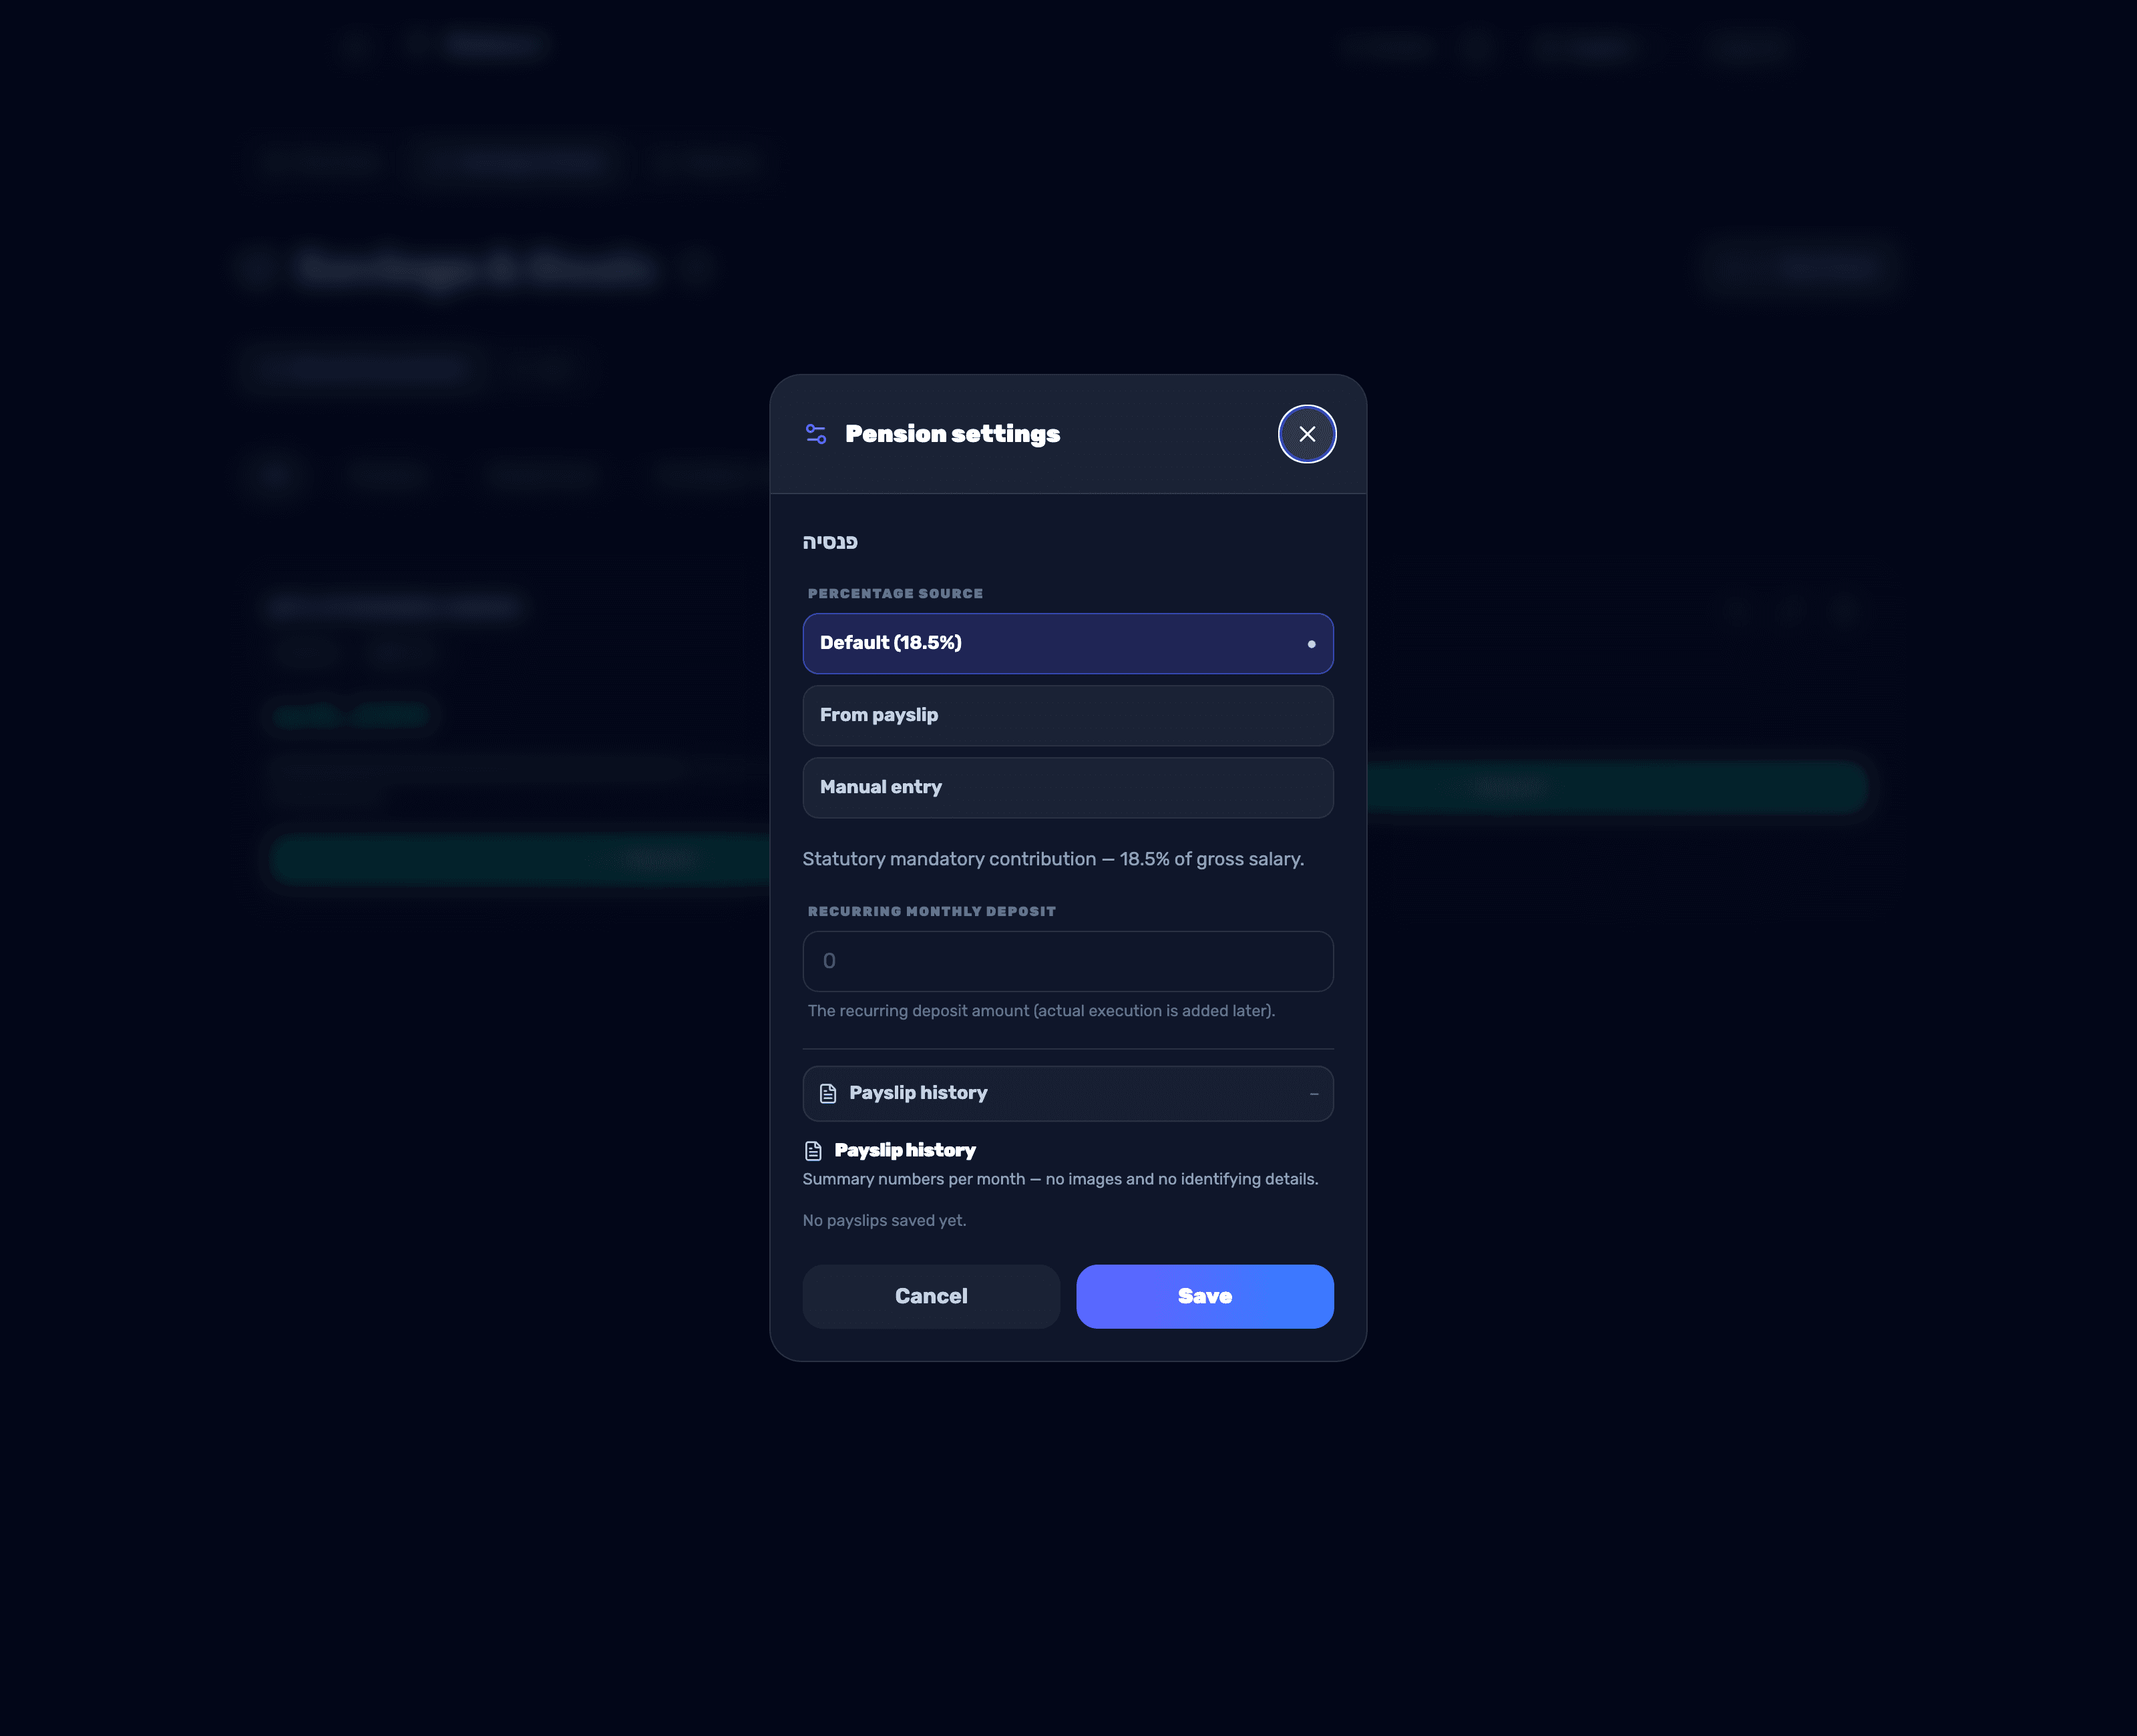
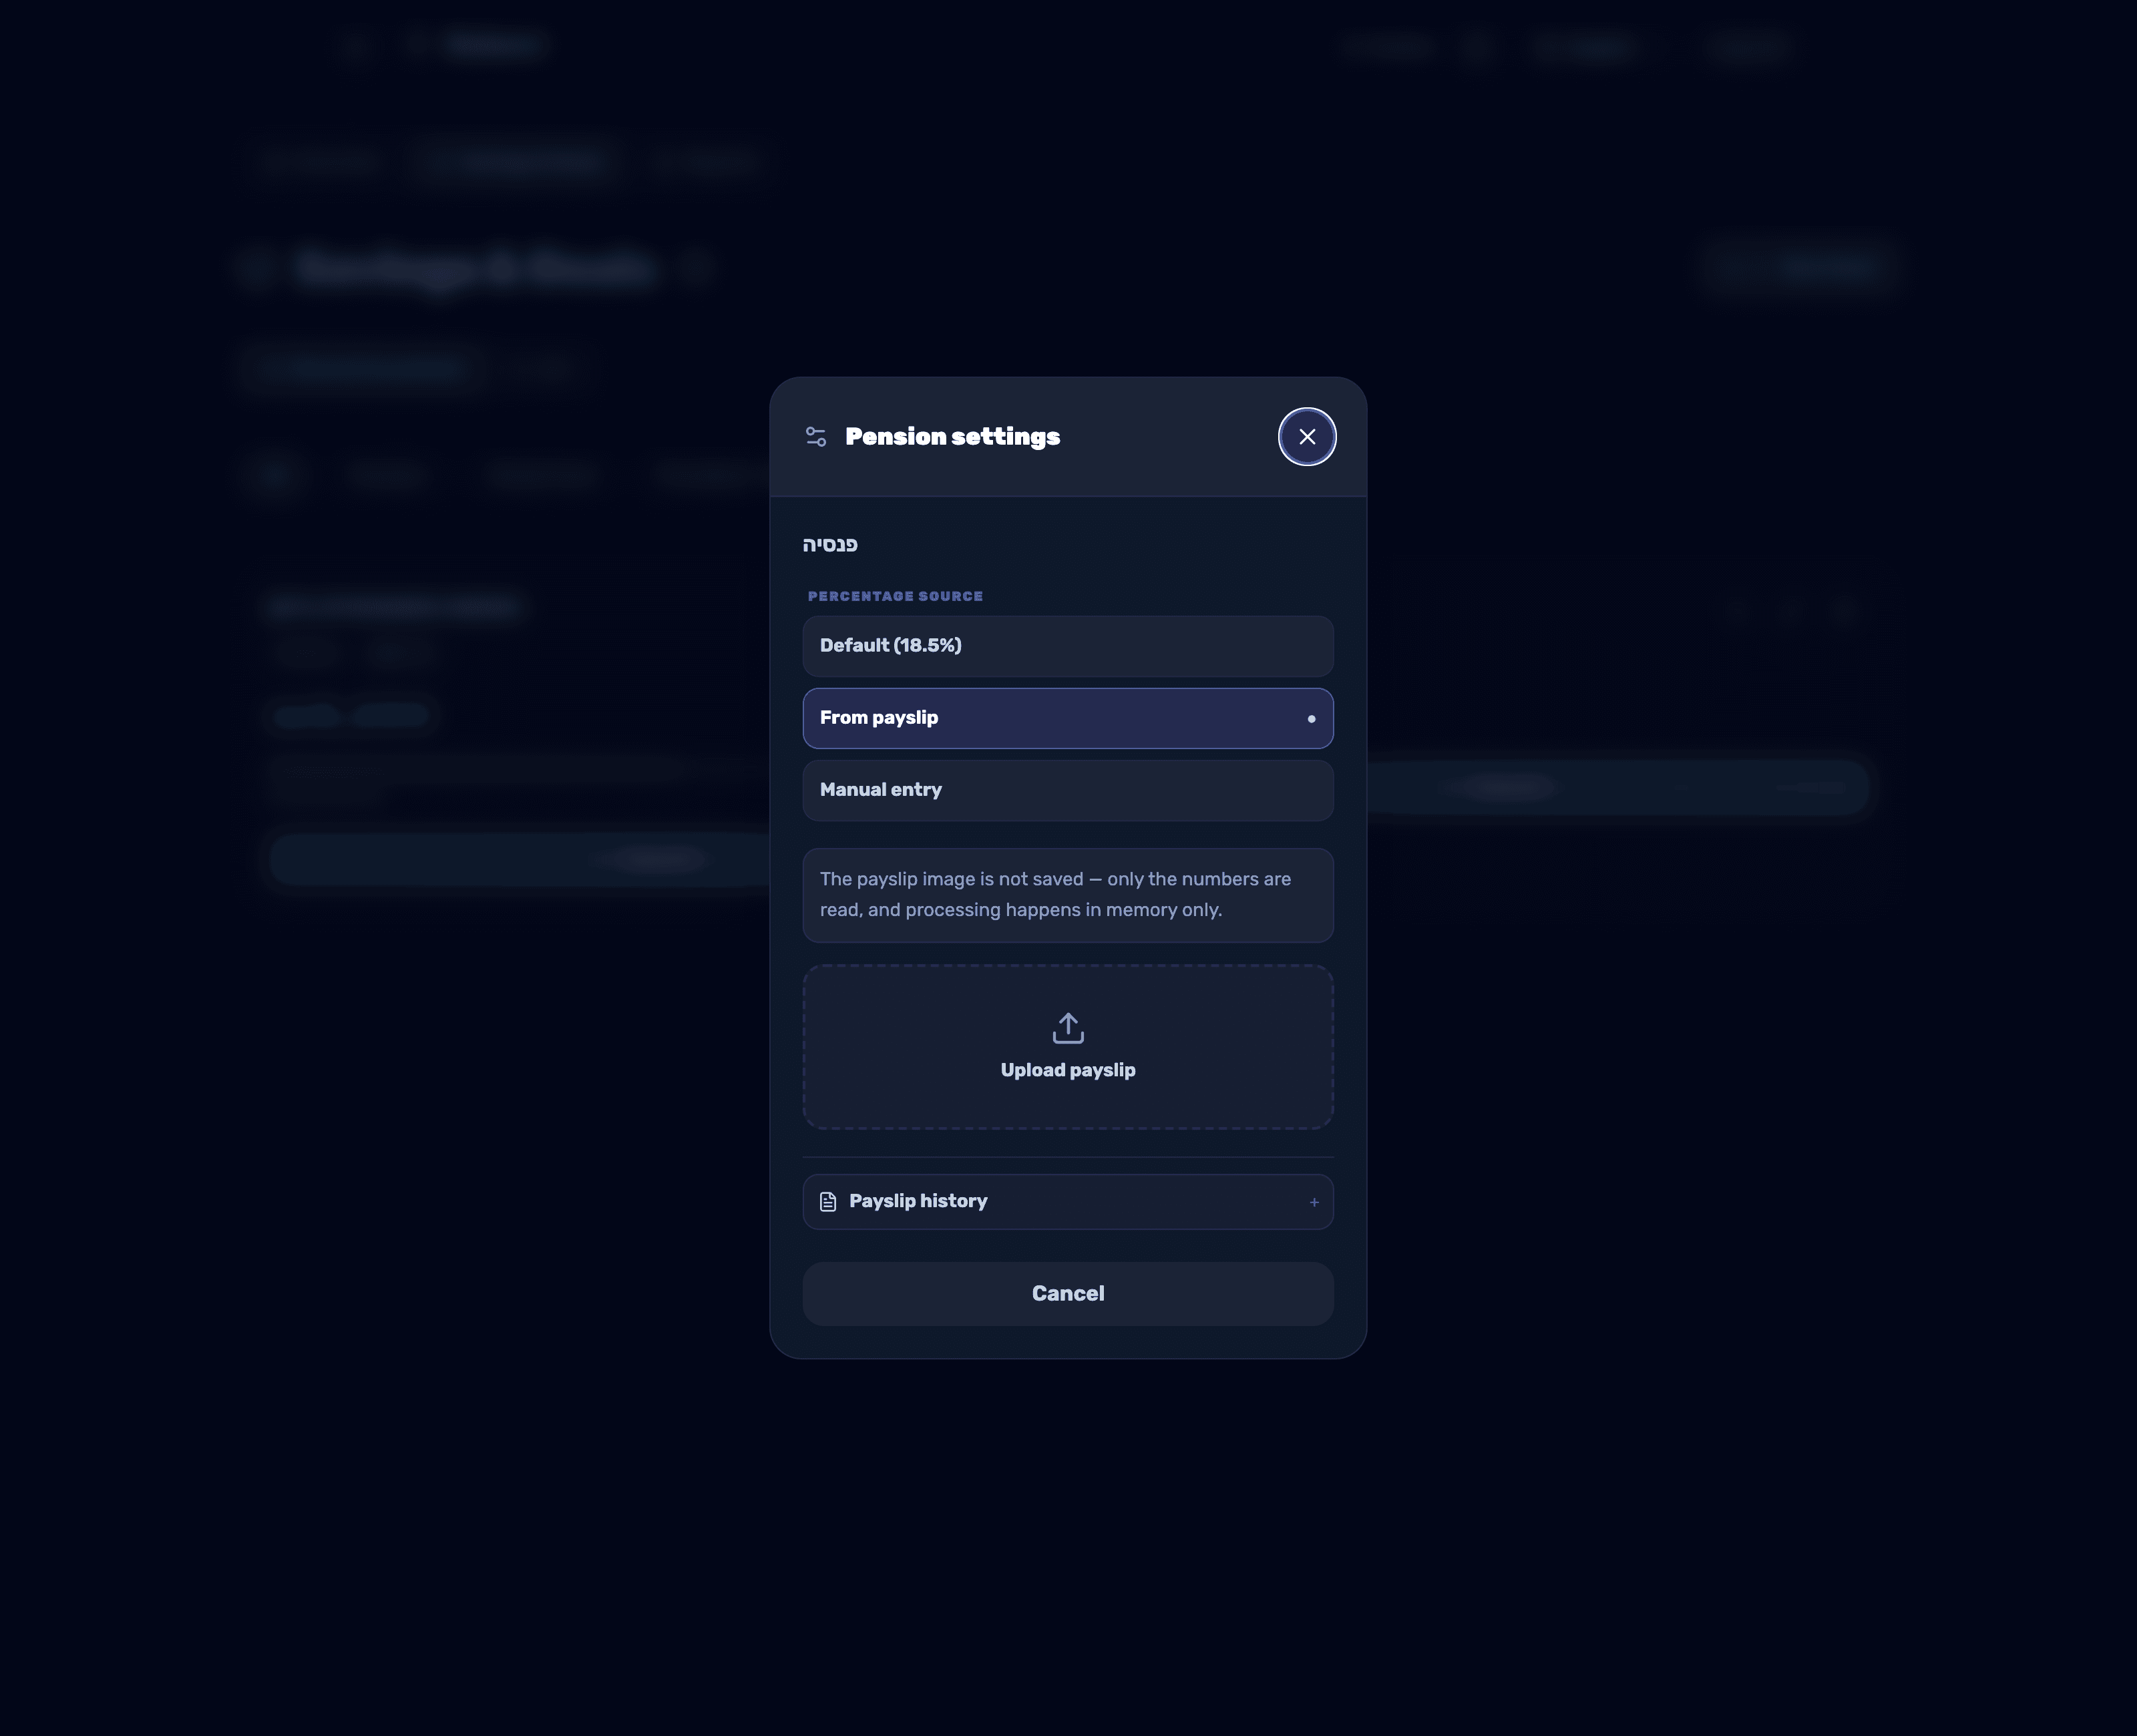
In the pension settings, set the percentage source to From Payslip, tap Upload Payslip, and add a photo. While the "Scanning payslip…" indicator is showing, wait a moment, then review and correct the Gross Salary, Employee Contribution, Employer Contribution, and Severance on the review screen before tapping Apply Settings.
- 6
Full privacy when scanning a payslip
The payslip photo is never stored — only the numbers are read, and processing happens in memory only. To save payslip insights for month-to-month comparison, check the consent box and tap Save Insights; you can always delete a single month or everything from Payslip History.